JAX WS Web Service
This tutorial will show you how you can publish and consume SOAP (Simple Object Access Protocol) based JAX-WS webservice using maven wsgen and wsimport plugin. For this tutorial I will create two maven projects – first will be an web project for the service part and second one will be a standalone project for the client part.
Prerequisites
Java 8, Maven 3.8.5, Tomcat 9.0.80, jaxws-rt 2.3.3, jaxws-maven-plugin 2.6, build-helper-maven-plugin 1.5
Service Project
The first project I will create here is the service project.
Project Setup
Use the following pom.xml file for your maven based project reference:
<?xml version="1.0" encoding="UTF-8"?>

<project xmlns="http://maven.apache.org/POM/4.0.0"
	xmlns:xsi="http://www.w3.org/2001/XMLSchema-instance"
	xsi:schemaLocation="http://maven.apache.org/POM/4.0.0 http://maven.apache.org/xsd/maven-4.0.0.xsd">
	<modelVersion>4.0.0</modelVersion>

	<groupId>com.roytuts</groupId>
	<artifactId>jax-ws-soapservice</artifactId>
	<version>0.0.1-SNAPSHOT</version>
	<packaging>war</packaging>

	<properties>
		<project.build.sourceEncoding>UTF-8</project.build.sourceEncoding>
		<maven.compiler.source>1.8</maven.compiler.source>
		<maven.compiler.target>1.8</maven.compiler.target>
	</properties>

	<dependencies>
		<dependency>
			<groupId>com.sun.xml.ws</groupId>
			<artifactId>jaxws-rt</artifactId>
			<version>2.3.3</version>
		</dependency>
	</dependencies>

	<build>
		<finalName>soapservice</finalName>
		<plugins>
			<plugin>
				<groupId>org.apache.maven.plugins</groupId>
				<artifactId>maven-compiler-plugin</artifactId>
				<version>3.8.1</version>
			</plugin>
			<plugin>
				<groupId>org.codehaus.mojo</groupId>
				<artifactId>jaxws-maven-plugin</artifactId>
				<version>2.6</version>
				<executions>
					<execution>
						<phase>process-classes</phase>
						<goals>
							<goal>wsgen</goal>
						</goals>
					</execution>
				</executions>
				<configuration>
					<sei>com.roytuts.jaxws.soapservice.HelloServiceImpl</sei>
					<genWsdl>true</genWsdl>
					<keep>true</keep>
					<resourceDestDir>${basedir}/src/main/webapp/WEB-INF/wsdl</resourceDestDir>
					<sourceDestDir>${basedir}/src/main/java</sourceDestDir>
				</configuration>
			</plugin>
		</plugins>
	</build>
</project>
Web Service
The following class exposes the Jax Ws web service.
@WebService
public class HelloServiceImpl {

	public String sayHello() {
		return "Hello";
	}

}
Deployment Descriptor
Use the following content in the web.xml file under src/main/webapp/WEB-INF folder for the web project.
<?xml version="1.0" encoding="UTF-8"?>
<web-app xmlns="http://java.sun.com/xml/ns/javaee" xmlns:xsi="http://www.w3.org/2001/XMLSchema-instance"
    xsi:schemaLocation="http://java.sun.com/xml/ns/javaee http://java.sun.com/xml/ns/javaee/web-app_3_0.xsd"
    version="3.0">
    <display-name>SOAP Web Service</display-name>
    <listener>
        <listener-class>
            com.sun.xml.ws.transport.http.servlet.WSServletContextListener</listener-class>
    </listener>
    <servlet>
        <servlet-name>HelloService</servlet-name>
        <servlet-class>com.sun.xml.ws.transport.http.servlet.WSServlet</servlet-class>
    </servlet>
    <servlet-mapping>
        <servlet-name>HelloService</servlet-name>
        <url-pattern>/HelloService</url-pattern>
    </servlet-mapping>
</web-app>
Service Endpoint
The endpoint has to be published for the SOAP web service in order for accessing the service from the clients. The sun-jaxws.xml file is written with the following content under the folder src/main/webapp/WEB-INF folder.
<?xml version="1.0" encoding="UTF-8"?>
<endpoints xmlns="http://java.sun.com/xml/ns/jax-ws/ri/runtime"
    version="2.0">
    <endpoint name="HelloService" implementation="com.roytuts.jaxws.soapservice.HelloServiceImpl"
        url-pattern="/HelloService" />
</endpoints>
Build the Service Project
Now navigate to the project location from command prompt (cmd tool) and build using maven tool by executing the below command:
mvn clean compile installOnce the project gets successfully built, deploy the project into the Tomcat server.
Accessing the Service
Hit the URL http://localhost:8080/soapservice/HelloService and you will see the output in the browser:

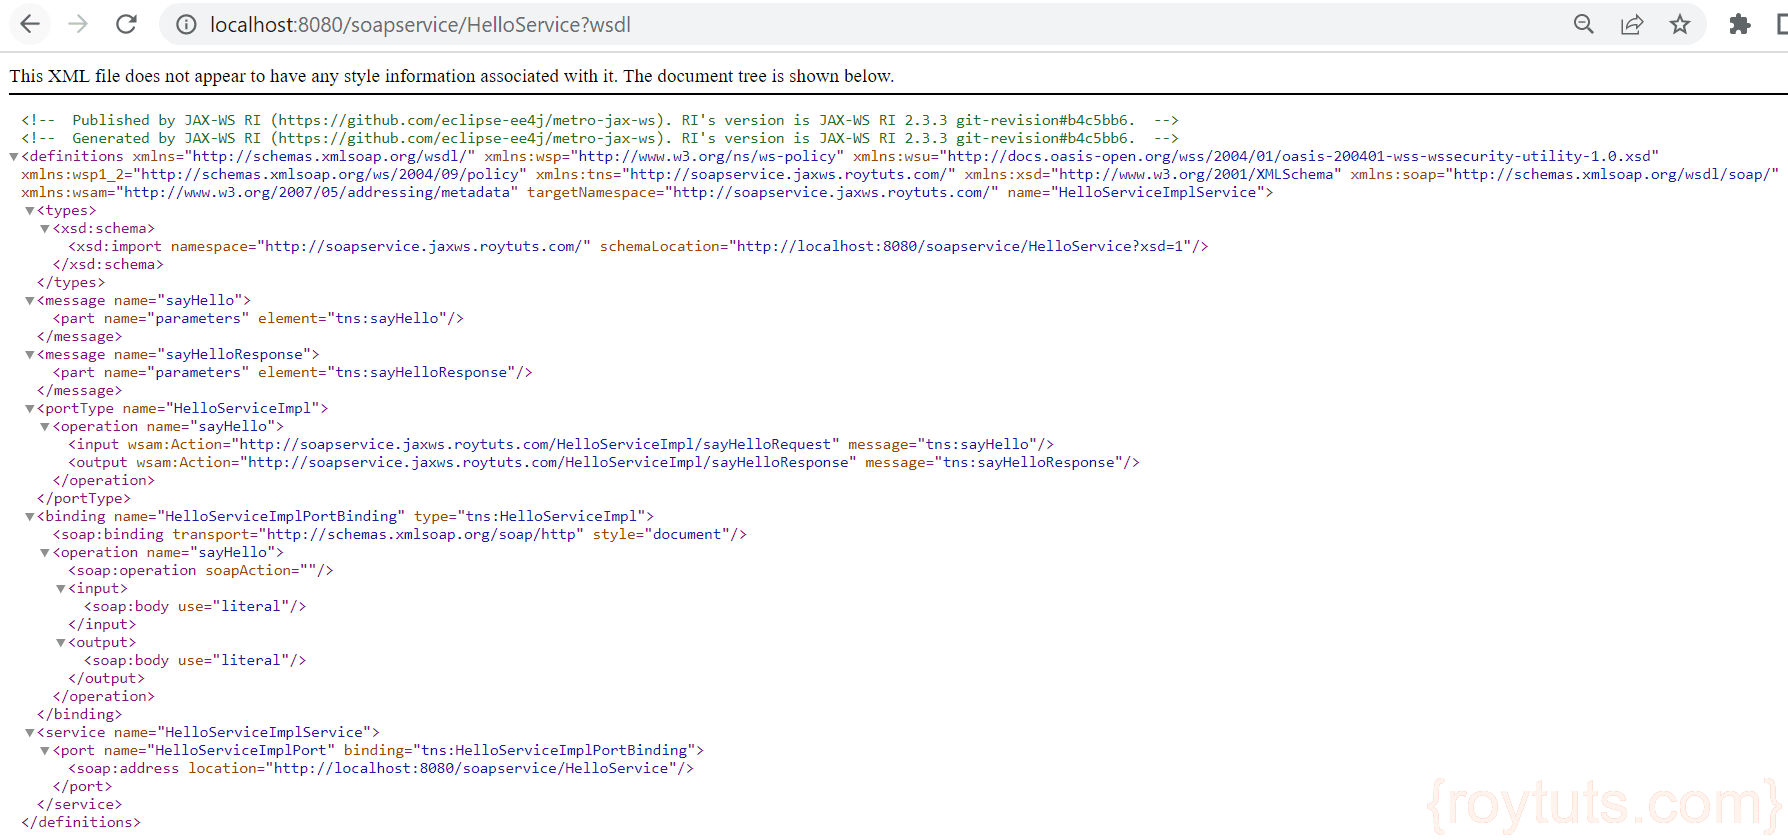
Accessing WSDL
Access the URL http://localhost:8080/soapservice/HelloService?wsdl in the browser to see the content of the WSDL file:
That’s all about service project.
Client Project
Now I will create a client project for consuming the above service which has been published.
Project Setup
The following pom.xml file can be used for your maven based project:
<?xml version="1.0" encoding="UTF-8"?>

<project xmlns="http://maven.apache.org/POM/4.0.0"
	xmlns:xsi="http://www.w3.org/2001/XMLSchema-instance"
	xsi:schemaLocation="http://maven.apache.org/POM/4.0.0 http://maven.apache.org/xsd/maven-4.0.0.xsd">
	<modelVersion>4.0.0</modelVersion>

	<groupId>com.roytuts</groupId>
	<artifactId>jax-ws-soapclient</artifactId>
	<version>0.0.1-SNAPSHOT</version>

	<properties>
		<project.build.sourceEncoding>UTF-8</project.build.sourceEncoding>
		<maven.compiler.source>1.8</maven.compiler.source>
		<maven.compiler.target>1.8</maven.compiler.target>
	</properties>

	<dependencies>
	</dependencies>

	<build>
		<plugins>
			<plugin>
				<groupId>org.apache.maven.plugins</groupId>
				<artifactId>maven-compiler-plugin</artifactId>
				<version>3.8.1</version>
			</plugin>
			<plugin>
				<groupId>org.codehaus.mojo</groupId>
				<artifactId>jaxws-maven-plugin</artifactId>
				<version>2.6</version>
				<executions>
					<execution>
						<goals>
							<goal>wsimport</goal>
						</goals>
						<configuration>
							<wsdlUrls>
								<wsdlUrl>
									http://localhost:8080/soapservice/HelloService?wsdl</wsdlUrl>
							</wsdlUrls>
							<keep>true</keep>
							<packageName>com.roytuts.jaxws.soapclient</packageName>
							<sourceDestDir>${basedir}/src/main/java</sourceDestDir>
						</configuration>
					</execution>
				</executions>
			</plugin>
			<plugin>
				<groupId>org.codehaus.mojo</groupId>
				<artifactId>build-helper-maven-plugin</artifactId>
				<version>1.5</version>
				<executions>
					<execution>
						<id>add-source</id>
						<phase>generate-sources</phase>
						<goals>
							<goal>add-source</goal>
						</goals>
						<configuration>
							<sources>
								<source>${basedir}/src/main/java</source>
							</sources>
						</configuration>
					</execution>
				</executions>
			</plugin>
		</plugins>
	</build>
</project>
Building the Client Project
Navigate to the project location and build the project using maven based tool by executing the below command in command prompt.
Note that the above service project must be up and running:
mvn clean compile installThe required Java files will be created by the maven plugin in the package configured in the maven plugin.
Java Main Class
Create a Java main class to consume the service as the required classes have been generated already.
public class HelloClient {

	public static void main(String[] args) {
		HelloServiceImplService helloService = new HelloServiceImplService();
		HelloServiceImpl helloServiceImpl = helloService.getHelloServiceImplPort();
		String response = helloServiceImpl.sayHello();

		System.out.println(response);
	}

}
Testing the Service/Client
Now run the main class file HelloClient.java and you will get the below output in the console.
HelloHope you got an idea how to build SOAP web service using Jax Ws API.
i went to use this in java 1.8 but i find some trouble
Updated the content with Java 8