Introduction
In this tutorial you will see how to upload file using React and Spring Boot technologies. React or React JS will be used as a client side or front end technology and Spring Boot will be used as a server side technology for uploading file. I will upload file to server using Spring REST API. As a server side technology I will use Spring Boot and in client side I will use React JS.
You may also like to read Download file using React and Spring Boot.

Prerequisites
Java at least 1.8, Spring Boot 2.1.6 – 2.5.0, Gradle 5.4.1, Maven 3.6.3
Upload file to server using React
Project Setup
Create gradle or maven based project in your favorite IDE or tool. The name of the project is spring-file-upload.
Update the default generated content in build script. You need to include the required dependency for Spring Boot.
buildscript {
	ext {
		springBootVersion = '2.1.6.RELEASE'
	}
    repositories {
        mavenLocal()
        mavenCentral()
    }
    dependencies {
        classpath("org.springframework.boot:spring-boot-gradle-plugin:${springBootVersion}")
    }
}
apply plugin: 'java'
apply plugin: 'org.springframework.boot'
repositories {
    mavenLocal()
    mavenCentral()
}
dependencies {
    compile("org.springframework.boot:spring-boot-starter-web:${springBootVersion}")
}
If you are using maven based project then you can use the following pom.xml file:
<?xml version="1.0" encoding="UTF-8"?>

<project xmlns="http://maven.apache.org/POM/4.0.0"
	xmlns:xsi="http://www.w3.org/2001/XMLSchema-instance"
	xsi:schemaLocation="http://maven.apache.org/POM/4.0.0 http://maven.apache.org/xsd/maven-4.0.0.xsd">
	<modelVersion>4.0.0</modelVersion>

	<groupId>com.roytuts</groupId>
	<artifactId>spring-file-upload</artifactId>
	<version>0.0.1-SNAPSHOT</version>

	<properties>
		<project.build.sourceEncoding>UTF-8</project.build.sourceEncoding>
		<maven.compiler.source>12</maven.compiler.source>
		<maven.compiler.target>12</maven.compiler.target>
	</properties>

	<parent>
		<groupId>org.springframework.boot</groupId>
		<artifactId>spring-boot-starter-parent</artifactId>
		<version>2.5.0</version>
	</parent>

	<dependencies>
		<dependency>
			<groupId>org.springframework.boot</groupId>
			<artifactId>spring-boot-starter-web</artifactId>
		</dependency>
	</dependencies>

	<build>
		<plugins>
			<plugin>
				<groupId>org.springframework.boot</groupId>
				<artifactId>spring-boot-maven-plugin</artifactId>
			</plugin>
		</plugins>
	</build>
</project>
REST Controller
The Spring REST Controller class is responsible for handling request/response for the end users or clients.
Here in the below Spring REST controller class, I upload file the data as a MultipartFile. I give a name to this multipart parameter name as file.
I also validate in the REST method whether a file was selected or not for uploading. So if value for parameter file is null then I throw an exception.
In the below Spring REST controller class I don’t perform any business with the file data but I just log the file information into the console to verify that our file has been uploaded successfully.
Another important thing is I need to allow the host and port from where I am going to upload the file. So in this example, I am allowing http://localhost:3000. If you want to allow from anywhere then you can put *.
@RestController
@CrossOrigin(value = "http://localhost:3000")
public class FileUploadRestController {
	private static final Logger logger = Logger.getLogger(FileUploadRestController.class.getName());

	@PostMapping("/upload")
	public ResponseEntity<String> uploadData(@RequestParam("file") MultipartFile file) throws Exception {
		if (file == null) {
			throw new RuntimeException("You must select the a file for uploading");
		}
		InputStream inputStream = file.getInputStream();
		String originalName = file.getOriginalFilename();
		String name = file.getName();
		String contentType = file.getContentType();
		long size = file.getSize();
		logger.info("inputStream: " + inputStream);
		logger.info("originalName: " + originalName);
		logger.info("name: " + name);
		logger.info("contentType: " + contentType);
		logger.info("size: " + size);
		// Do processing with uploaded file data in Service layer
		return new ResponseEntity<String>(originalName, HttpStatus.OK);
	}
}
Main Class
Create below main class to deploy the application into embedded Tomcat server.
This is the beauty of Spring Boot application that you don’t need to deploy on external server, you don’t need to create deployment descriptor.
@SpringBootApplication
public class SpringFileUploadApp {
	public static void main(String[] args) {
		SpringApplication.run(SpringFileUploadApp.class, args);
	}
}
Testing the Application
Run the main class to deploy the application into Tomcat server.
Also run the Upload file to server using React to open in browser.
The React JS application will start at http://localhost:3000 and open in a default browser.
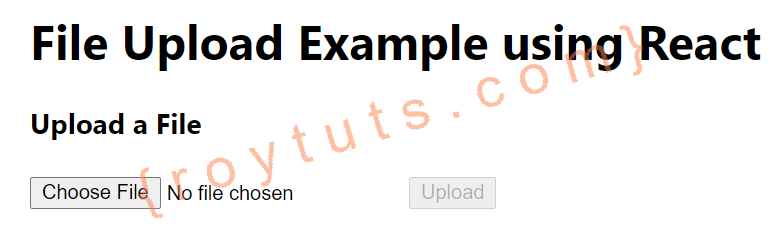
Home Page
The home page of the application looks to the similar image as shown below:
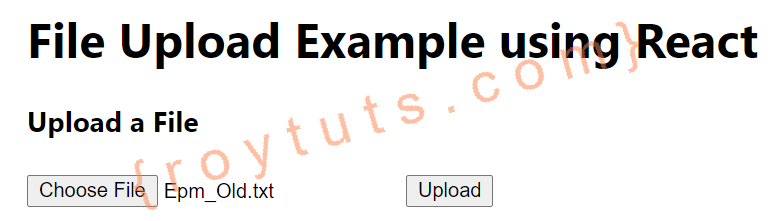
File – Selection
When you select a file using browse button:
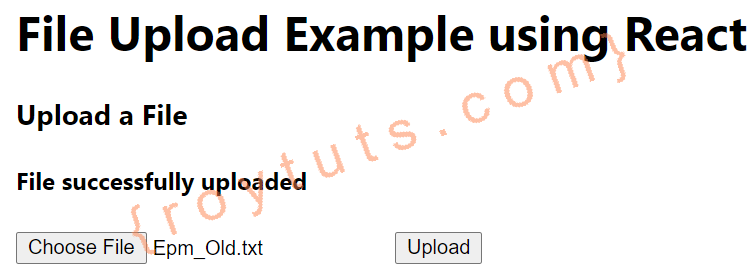
File – Upload Success
When file successfully uploaded to the server:
Server – Console Output
The following output is produced in the console:
c.r.s.f.r.c.FileUploadRestController     : inputStream: java.io.FileInputStream@24e9690f
c.r.s.f.r.c.FileUploadRestController     : originalName: Epm_Old.txt
c.r.s.f.r.c.FileUploadRestController     : name: file
c.r.s.f.r.c.FileUploadRestController     : contentType: text/plain
c.r.s.f.r.c.FileUploadRestController     : size: 13
I read this and liked it also but not getting source code.
Please check this link https://github.com/roytuts/spring-boot/tree/master/spring-file-upload