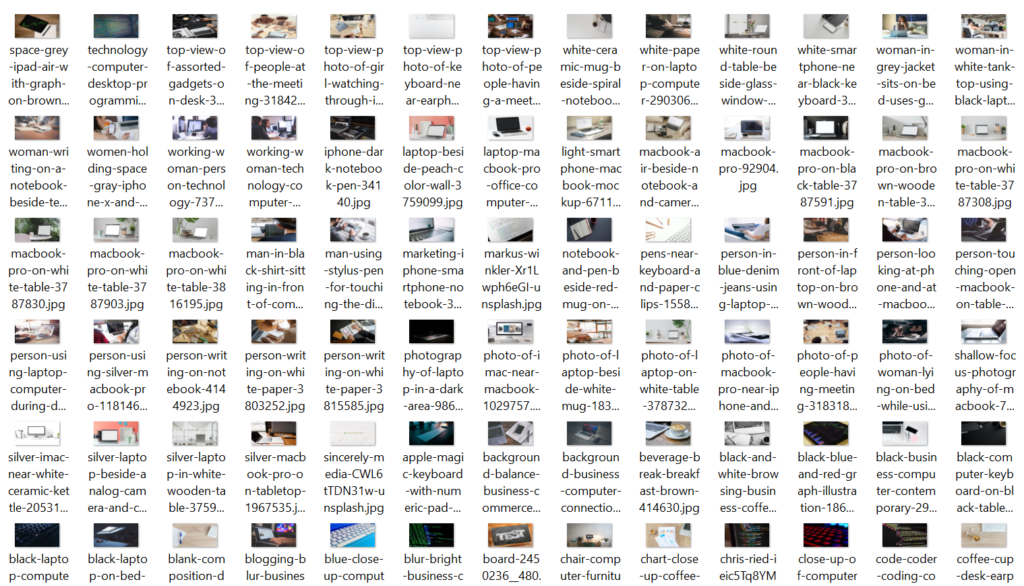
Here in this tutorial I am going to show you how to resize multiple images or bulk images using PHP programming language. I am going to use built-in functions from PHP language to scan the directory and resize images. Such functions are scandir(), imagecreatetruecolor(), imagecreatefromjpeg(), imagecopyresized() and imagejpeg().
In this example I am going to scan a particular directory that contains bulk images and one by one I will resize and save the image in the same directory. So the original image will be replaced by the resized image. If you do not want to replace the original image then you can rename the resized image.
Prerequisites
Apache HTTP Server 2.4, PHP 7.4.3
Project Directory
It’s assumed that you have setup Apache and PHP in Windows system.
Now we will create a project root directory called php-bulk-images-resize under the Apache server’s htdocs folder.
I may not mention the project root directory in subsequent sections and I will assume that we are talking with respect to the project root directory.
Resize Bulk or Multiple Images
Now I will show you how to resize multiple or bulk images. I have create a PHP file called php-bulk-images-resize.php and put the following source code.
<?php

ini_set('memory_limit', '-1');
ini_set('max_execution_time', 300);

echo 'Bulk Image Resizing in PHP - Starting...';

$img_dir = 'images/';
//echo $img_dir;
$scanned_dir = array_diff(scandir($img_dir), array('..', '.'));
//print_r($scanned_dir);

foreach($scanned_dir as $filename) {
	//echo $filename;
	//echo nl2br("\n");

	// Get new sizes
	list($width, $height) = getimagesize($img_dir . $filename);

	$newwidth = 1200;
	$newheight = 628;

	// Load
	$thumb = imagecreatetruecolor($newwidth, $newheight);
	$source = imagecreatefromjpeg($img_dir. $filename);

	// Resize
	imagecopyresized($thumb, $source, 0, 0, 0, 0, $newwidth, $newheight, $width, $height);

	//imagejpeg($thumb, $img_dir. $filename);
	if(imagejpeg($thumb, $img_dir. $filename)) {
		imagedestroy($thumb);
	}
}

echo nl2br("\n");
echo nl2br("\n");

echo 'Bulk Image Resizing in PHP - Finished';

?>
I have added ini_set('memory_limit', '-1'); to avoid memory issue while the PHP file gets executed for bulk operation. For example, you may see the error: Allowed memory size of 134217728 bytes exhausted.
You can also set the memory limit in php.ini file using the line memory_limit = -1. After updating php.ini file you need to restart the Apache HTTP Server to reflect the change.
As the bulk operation is going on, so your server might have been configured with timeout for PHP file execution. So I have set it to 5 minutes by adding the line ini_set('max_execution_time', 300); You can also set temporary time limit using set_time_limit(300);.
Next I have create an image directory (images) where I will put all my images. This directory in kept under the project’s root folder.
Then I have scanned the image folder using scandir(). Notice I have used array_difference() to exclude . and .. (array('..', '.')) from Unix like systems.
I iterate over the scanned directory and on each image file I apply the resize with the mentioned width and height.
I am using all JPEG/JPG image so I have used imagecreatefromjpeg(). If you have different types of images, for example, PNG or GIF then you need to use different function. For example, for PNG you need to use imagecreatefrompng() function, for GIF you need to use imagecreatefromgif() function.
If you have different types of images in the folder then you can check type of each image and accordingly you can use appropriate function to resize the image.
imagecopyresized() function is used to resize the image.
I am using imagedestroy() function to free any memory associated with resized image after saving the image using imagejpeg() in the same folder with the same name.
Testing the Application
Once you execute the PHP script all images will be resized in the same sizes. The sample images are there in the source code.

Source Code
Thanks for reading.