Table of Contents
Introduction
Many of you tried to send mail from localhost for testing some functionality in the website like User Registration, Password Activation etc. in the local or development environment where there is no production mail server available, hence the mail sent is failed. But don’t worry; here I am going to present a tutorial which may help someone who is tired of getting it to work in the localhost.
This tutorial may contain some old images of XAMPP server and MS Outlook express but the content of this tutorial is up to date and tested with XAMPP version up to 3.3.0.
Prerequisites
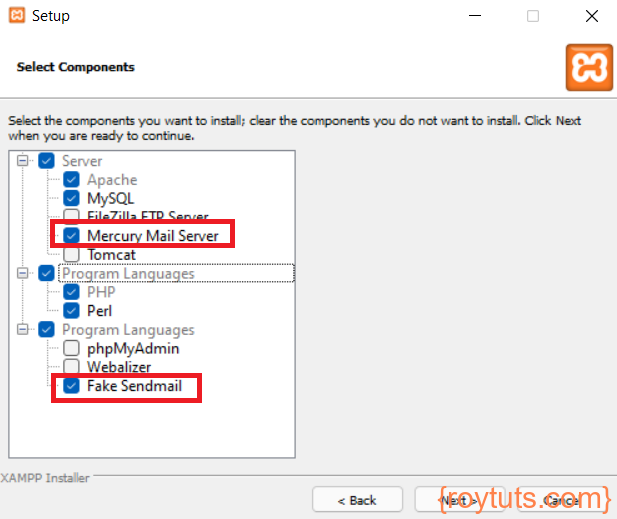
N.B.: Select “Fake Sendmail” checkbox while installing the xampp in windows otherwise you won’t be able to send the mail in localhost.
Only you need to download the xampp package which consists of the required items like a web server, mysql, mail server and a mail client etc. You can also download each thing separately and install to configure them.
Install XAMPP
Once XAMPP downloaded, install it by double clicking on the exe file.
Do not forget to check Mercury Mail Server and Fake Sendmail check boxes as highlighted.
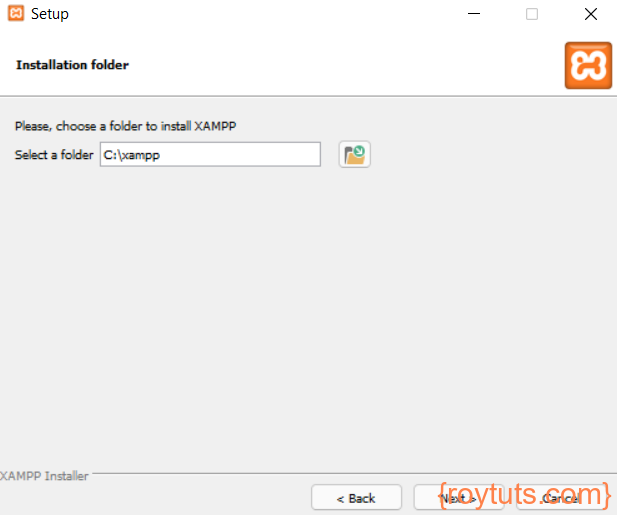
Choose location for installation of XAMPP.
Choose language for your XAMPP.
Now wait for its installation complete.
Configure XAMPP for sending Email
The following steps will guide you through the working of mail function on localhost.
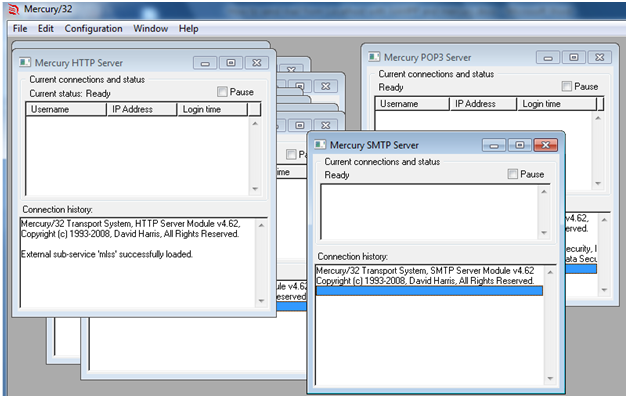
Open the control panel for xampp. Start the web server, mysql and mercury.

Click on the “Admin” button next to “Mercury” on xampp control panel. This will open the Mercury control panel. Click on Configurations->Manage Local Users
Create a new user. For example, Username – root, Password – root

Create aliases. Go to the Configurations -> Aliases
Put root@localhost.com for Alias and root@localhost for Real Address.

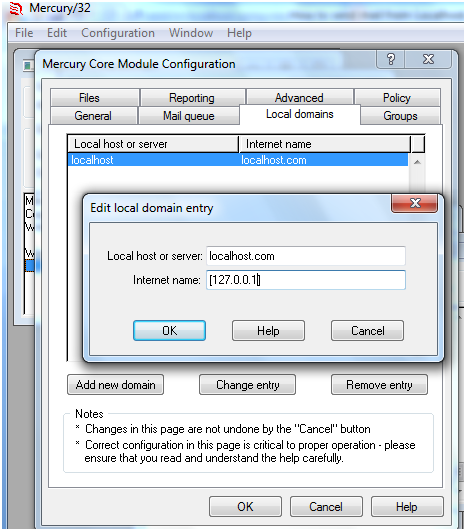
Go to Configurations -> Mercury Core Modules -> “Local domains” tab
Local host or server: localhost.com
Internet name: [127.0.0.1]
Local host or server: localhost.com
Internet name: localhost
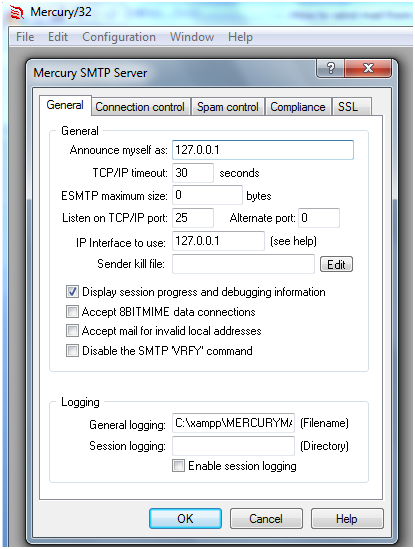
Next, from the Mercury Admin panel, Go to Configurations -> MercuryS SMTP server and make the following Changes.
Announce Myself as: 127.0.0.1
IP Interface to use: 127.0.0.1
Listen to TCP/IP port: 25

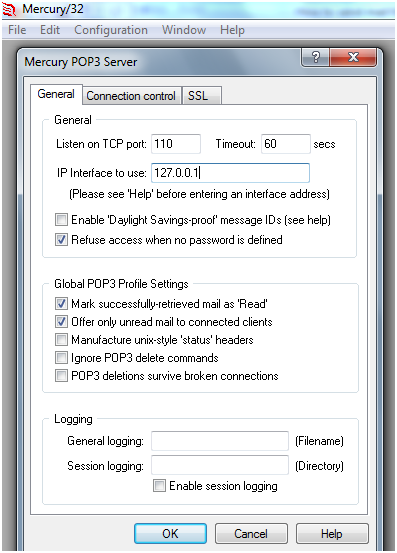
Next, from the Mercury Admin Panel, Go to Configurations -> MercuryP POP3 Server and fill in the following details.
Listen to TCP port: 110
IP Interface to use: 127.0.0.1
Go to Configurations -> MercuryD POP3 Client
Click on “Add” button and give the following details:
POP3 Host: 127.0.0.1
Username: root
Password: root
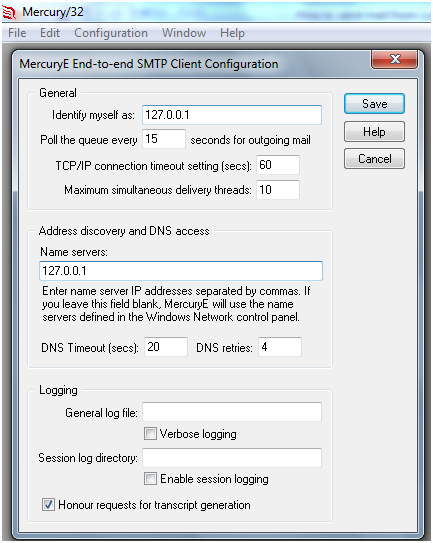
Next, from the Mercury Admin Panel, Go to Configurations ->MercuryE SMTP client Configuration, and make the following changes
Identify Myself as: 127.0.0.1
Name server: 127.0.0.1
Go to Configurations -> MercuryD POP3 Client
Click on “Add” button and give the following details:
POP3 Host: 127.0.0.1
Username: root
Password: root

This finishes Configuration of your Mercury Mail transport system.
Setup Email Clients
I now have to configure a mail client, so as to receive mails. I will use the windows default mail client – the outlook express and eM Client. You can also use other email clients for your application. If your MS Outlook is setup for any other email server then you can find alternative email clients and setup.
Setup Microsoft Outlook Express
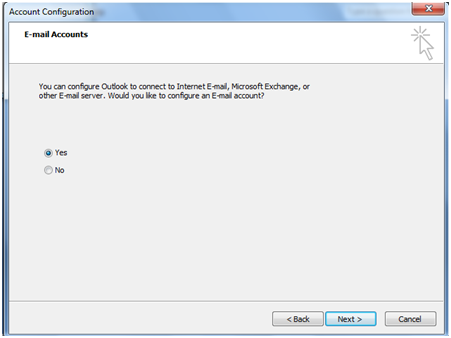
The following steps will guide you to create a user account on outlook express.
Click on Microsoft Outlook Express

Click Next
Click Next
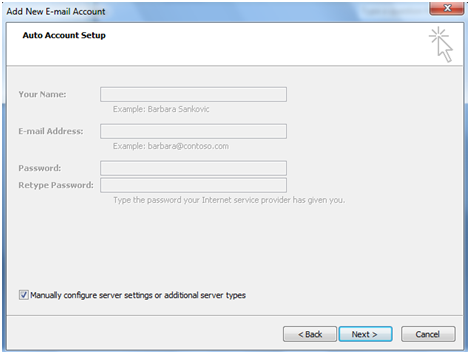
Check “Manually configure server settings or additional server types”
Click Next

Make sure “Internet E-mail” is selected
Click Next

Check the above settings are correct.
Click Next and Finish.
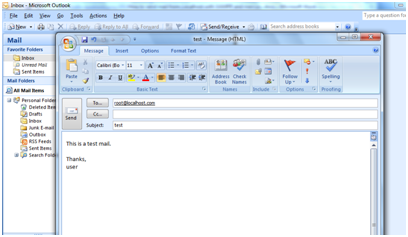
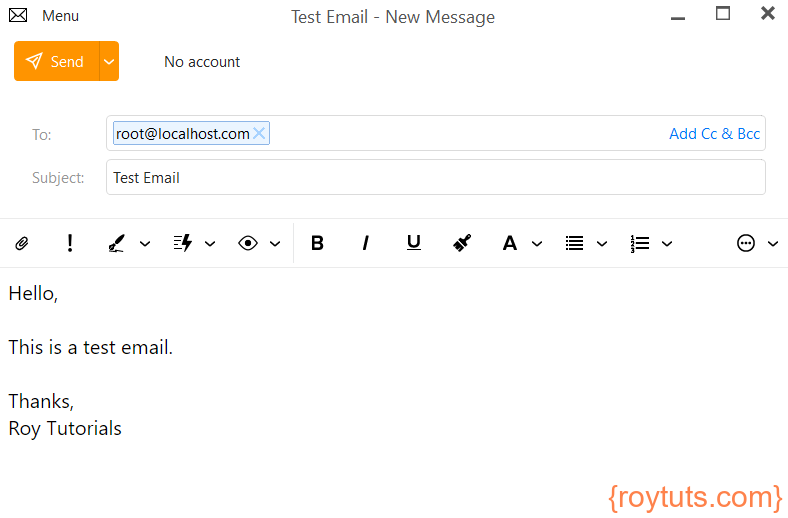
Sending Email using Outlook
Now create a test mail and send it to root@localhost.com.
After sending the message you will get this message in the inbox.
Setup eM Client
You can easily download from the internet eM Client for composing and sending emails.
Once you download eM client you can setup it easily:

Once em client setup done, you can start it:
When you start first time you have to setup an account and I will show you how to do that in few steps.
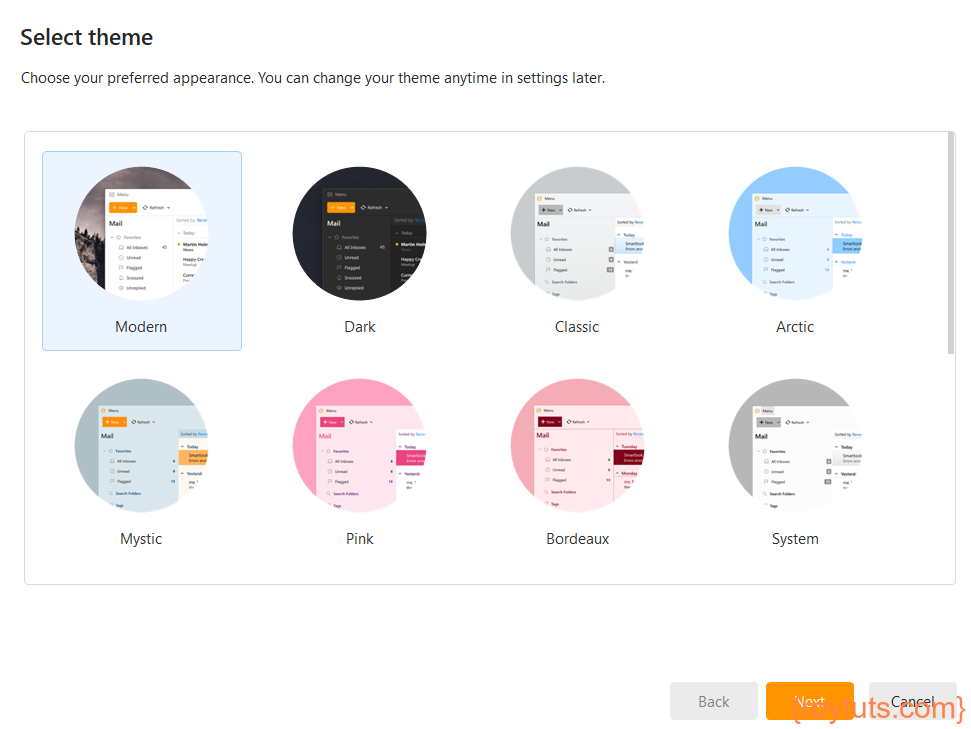
You can also choose a theme for your em client.
Your em client inbox will have a default email.
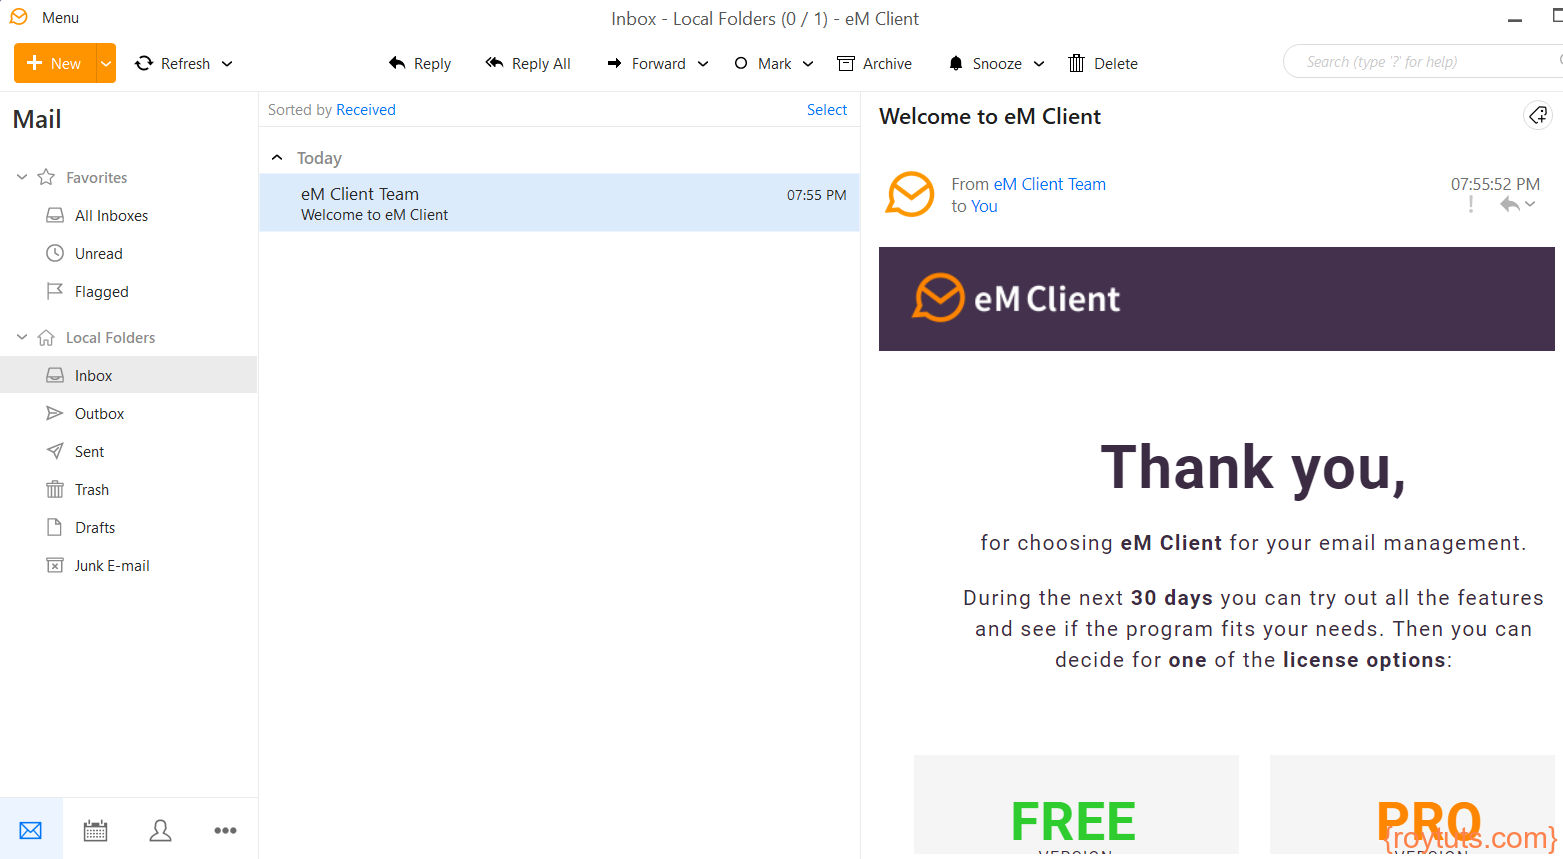
Though you got default account and you got an email in the inbox after successful setup of eM client, but you won’t be able to send any email using Mercury email server. You need to setup an account first. I will show you here how to setup an account in eM client.
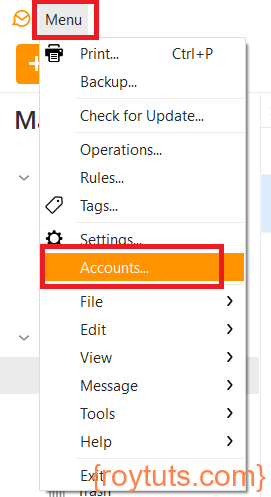
From the Menu click on Accounts…
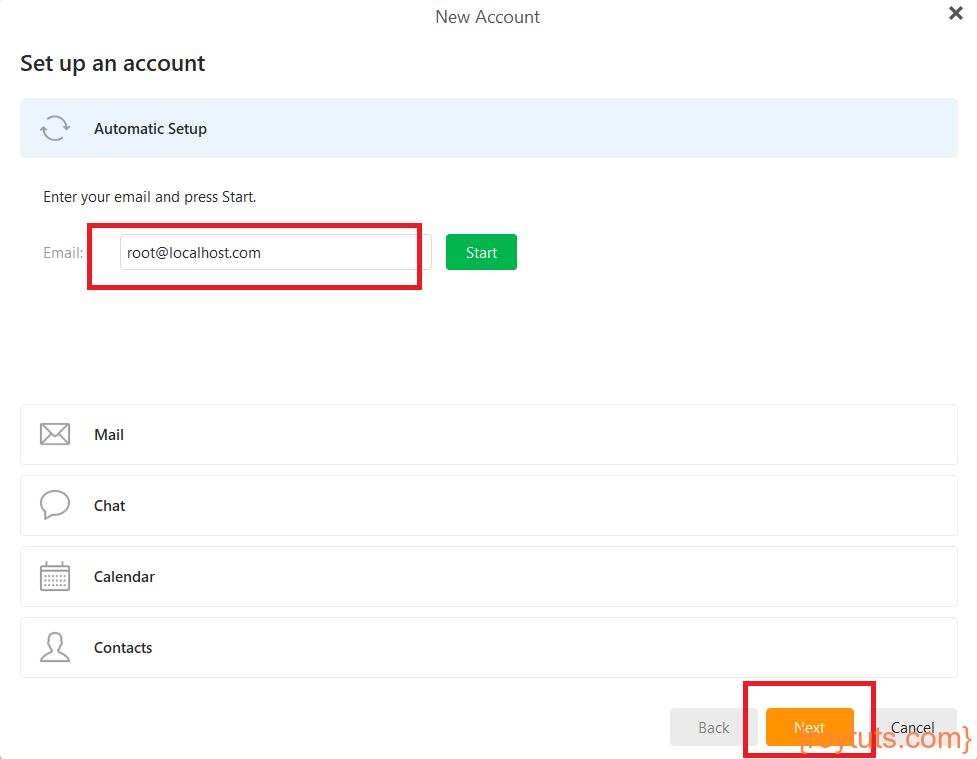
Now put the email address in the next screen and click on Next button.
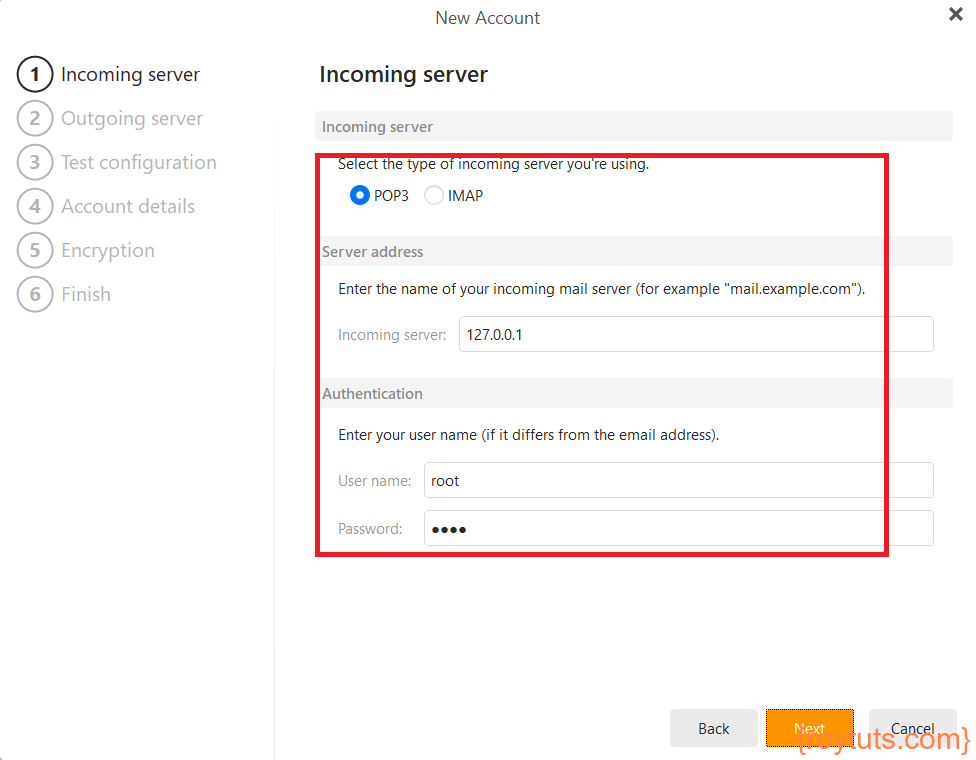
Next you need to setup incoming server and user credentials.
Setup outgoing server.

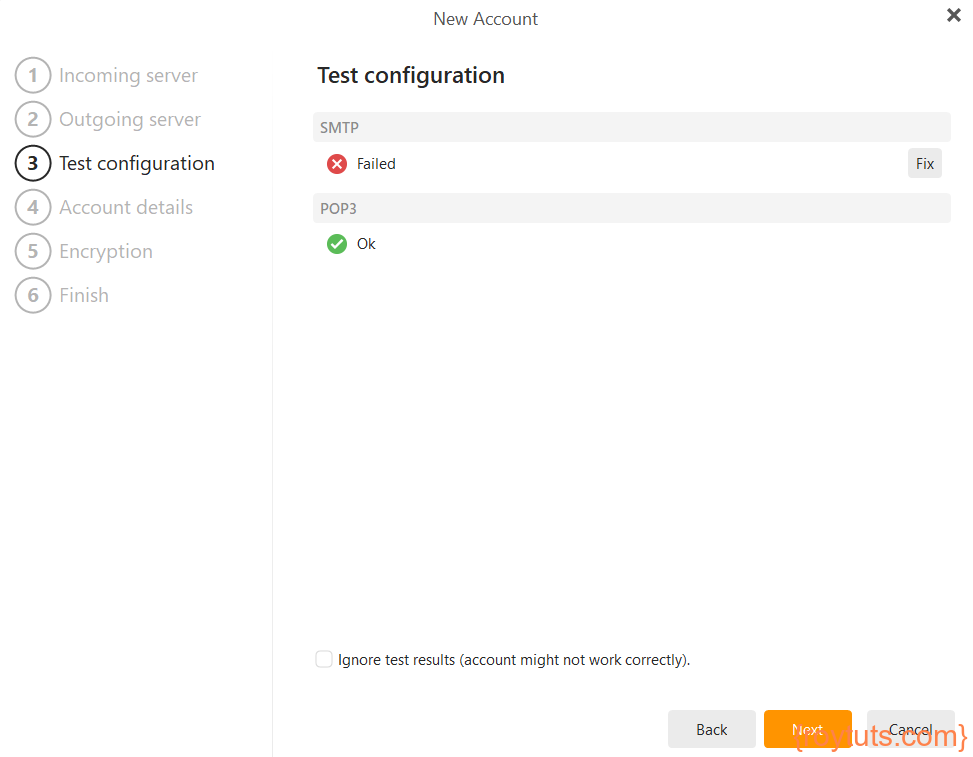
Test the configuration. SMTP is failed but POP3 success. So, I will use POP3 to send email.
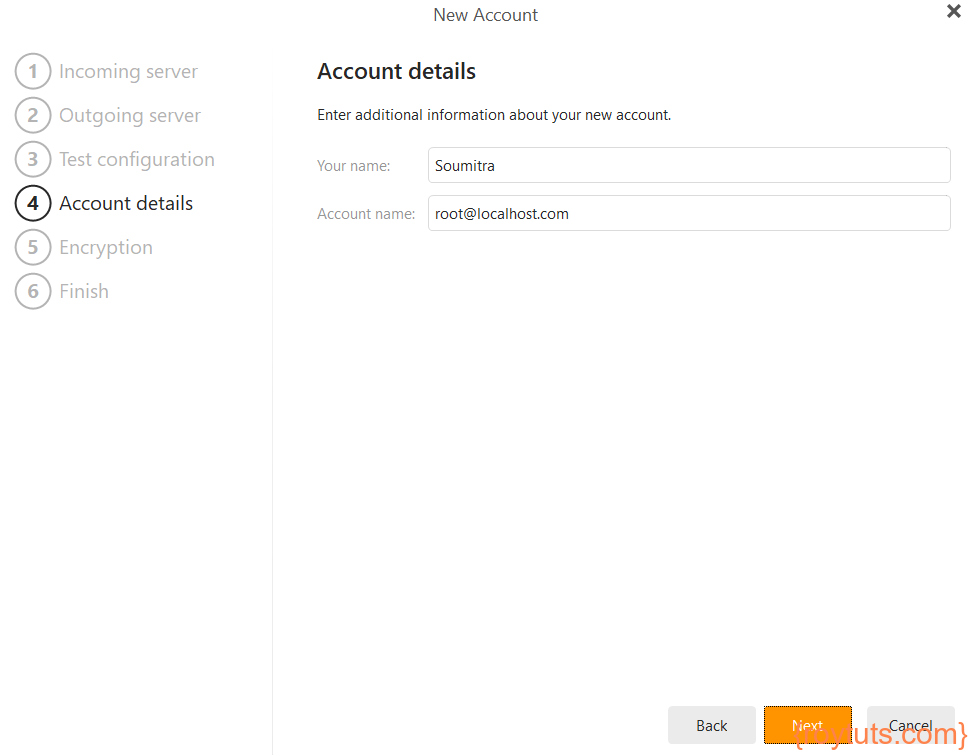
Account details. Setup your name and email.
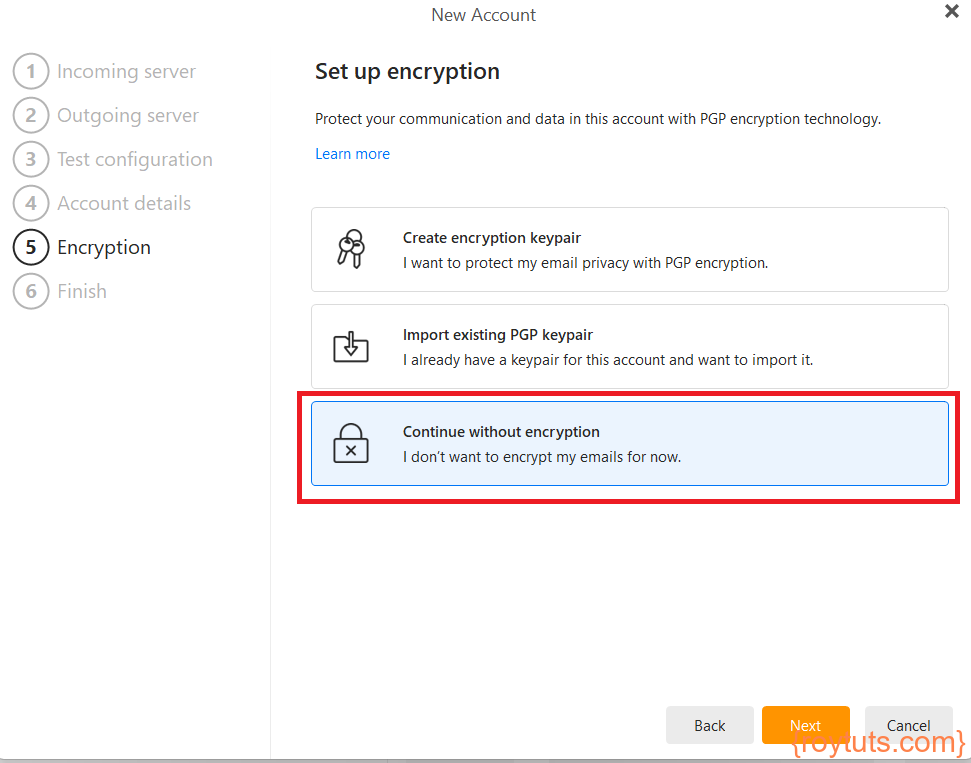
For localhost I am not using any encryption.
Specify the storage option for em client.
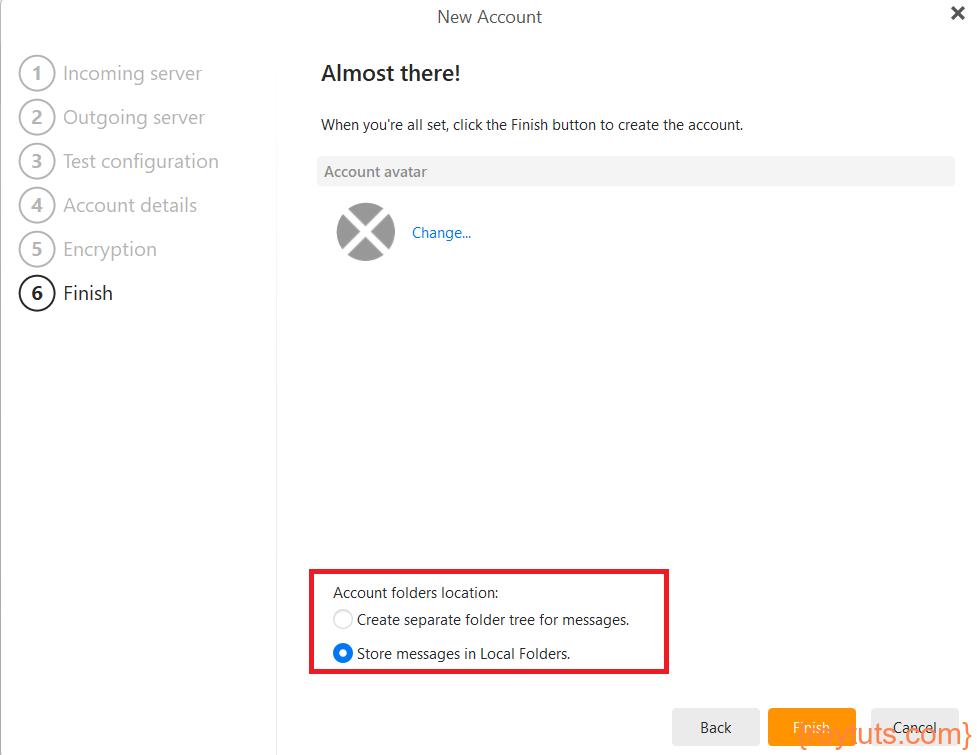
Thus it finished eM client configurations.
Sending Email using eM Client
Now compose an email and send it.
So you received the above email in your inbox (unread).
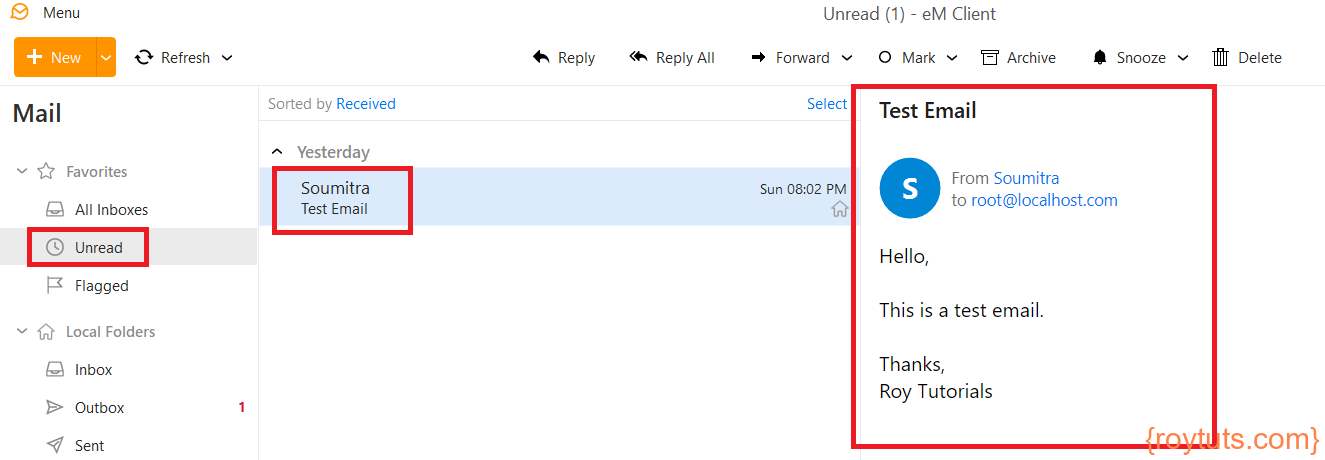
That’s all how to configure eM client and send email using eM client.
N.B.: Select something like “Fake Sendmail” checkbox while installing the xampp in windows otherwise you won’t be able to send the mail in localhost.
Thank you.
I have been looking for a solution to test sending email since learning that Gmail no longer accepts email from outside.
Please show the correct php.ini changes, and any others needed.
— Fred
You need to change in the gmail settings to accept email from outside
thanks as it works for me
You are welcome
Thanks for your help.
Thanks bro. It worked.