Username Availability Check
This tutorial shows an example on Python Flask username availability check with MySQL, AJAX. Sometimes you may need to check username availability immediately before a user submits the form after filling a lengthy signup form or any other forms.
In this case you can use AJAX with any technologies like PHP, Codeigniter, Servlet, Struts, JSF, Spring etc. for checking whether the input username is available or already occupied by someone else.
So if you give instant result to the user for username availability then sometimes it makes more sense than while pressing the submit button and goes top of the signup form to rectify the username input field if input username is not available.
You may also read:
- Username availability check using Codeigniter, AJAX and MySQL
- Username availability check using Servlet, AJAX and MySQL
- Username availability check using PHP, MySQL, AJAX
I will use here REST API on server side to check the username availability using Python Flask with MySQL and AJAX.
Prerequisites
Python 3.7.4/3.11.5, Flask 1.1.1/2.2.3, MySQL 8.0.17/8.1.0, Windows 10/11 64 bit
Project Directory
First step is to create a project root directory under which I will put all our required files for the project.
Let’s say I am going to create a project root directory python-flask-mysql-ajax-username-availability-check.
I may not mention the project root directory in subsequent sections and I will assume that I am talking with respect to the project’s root directory.
MySQL Table
Create a table user under database roytuts in MySQL server with the following structure:
CREATE TABLE `user` (
	`user_id` int unsigned NOT NULL AUTO_INCREMENT,
	`login_username` varchar(100) NOT NULL,
	`login_password` varchar(255) NOT NULL,
	`last_login` timestamp NULL DEFAULT CURRENT_TIMESTAMP,
	PRIMARY KEY (`user_id`),
	UNIQUE KEY `login_email_UNIQUE` (`login_username`)
) ENGINE=InnoDB AUTO_INCREMENT=2 DEFAULT CHARSET=utf8mb4;
Dumping Data
I need to insert some data in order to complete the test that checks whether the functionality is really working as expected.
insert into `user`(`user_id`,`login_username`,`login_password`,`last_login`)
values (1,'user1','$2a$08$S5IfrpOVOvFbbOSOmZpjsO5N9PXgEerTloK','2023-01-19 19:18:30'),(2,'user2','$2a$08$v1kJflweCK3FOcoAsmYAUCMxFa5Shh7c2','2023-02-10 19:22:46');
Configuring Flask
Create the below app.py script(py is the extension to indicate Python script) where you need to import the flask module. This file should be created under the project root directory. Notice how I create flask instance. You don’t need to configure secret key because you are not going to use flash or session in our application.
from flask import Flask

app = Flask(__name__)
Database Configuration
I create the below db_config.py Python script under project root directory to setup the MySQL database configurations for connecting to database.
I need to configure database connection with flask module and that’s why I have imported app module and setup the MySQL configuration with flask module.
from app import app
from flaskext.mysql import MySQL

mysql = MySQL()

# MySQL configurations
app.config['MYSQL_DATABASE_USER'] = 'root'
app.config['MYSQL_DATABASE_PASSWORD'] = 'root'
app.config['MYSQL_DATABASE_DB'] = 'roytuts'
app.config['MYSQL_DATABASE_HOST'] = 'localhost'
mysql.init_app(app)
Configuring URLs
Next I will create main.py script that will define all URIs or Action paths for checking user information into the database.
In this script I will use view as well as REST API endpoint.
The view will display the home page template with input form where user will input username.
The REST API endpoint will give you access to check username availability instantly with AJAX and jQuery oninput event.
I first import the required modules into the script. I then define the end-point / for displaying a view where user will see the home page with input form.
Next I need to validate user input data and verify the input username exists or not in the database. So I define another REST end-point /user_check.
I use http method GET for displaying view and POST method for sending data to server side.
By default http method is GET if you do not specify http method.
I use render_template function from flask to show the view.
import pymysql
from app import app
from db_config import mysql
from flask import jsonify, request, render_template

@app.route('/user_check', methods=['POST'])
def username_check():
	conn = None
	cursor = None
	try:
		username = request.form['username']

		# validate the received values
		if username and request.method == 'POST':
			conn = mysql.connect()
			cursor = conn.cursor(pymysql.cursors.DictCursor)
			cursor.execute("SELECT * FROM user WHERE login_username=%s", username)
			row = cursor.fetchone()

			if row:
				resp = jsonify('<span style=\'color:red;\'>Username unavailable</span>')
				resp.status_code = 200
				return resp
			else:
				resp = jsonify('<span style=\'color:green;\'>Username available</span>')
				resp.status_code = 200
				return resp
		else:
			resp = jsonify('<span style=\'color:red;\'>Username is required field.</span>')
			resp.status_code = 200
			return resp
	except Exception as e:
		print(e)
	finally:
		cursor.close()
		conn.close()

@app.route('/')
def home():
	return render_template('username.html')

if __name__ == "__main__":
    app.run()
View – Template File
Create a templates directory under the project’s root directory and create a template file username.html with the below content.
Now I will create a form where user will input username and check whether the given username is available or not.
I will use here jQuery’s on function with input event to check username live.
I will use jQuery libraries directly from the CDN.
<!DOCTYPE html>
<html>
<head>
	<meta charset="UTF-8">
	<title>Check username availability using Python Flask, AJAX, MySQL</title>
	<!--<script src="https://code.jquery.com/jquery-3.4.1.min.js"></script>-->
	<script src="https://code.jquery.com/jquery-3.7.1.min.js" integrity="sha256-/JqT3SQfawRcv/BIHPThkBvs0OEvtFFmqPF/lYI/Cxo=" crossorigin="anonymous"></script>
	<!--<script src="https://code.jquery.com/jquery-migrate-3.1.0.min.js"></script>-->
	<!--<script src="https://code.jquery.com/ui/1.12.1/jquery-ui.min.js"></script>-->
	<script src="https://code.jquery.com/ui/1.13.2/jquery-ui.min.js" integrity="sha256-lSjKY0/srUM9BE3dPm+c4fBo1dky2v27Gdjm2uoZaL0=" crossorigin="anonymous"></script>
</head>
<body>
	<div style="margin: 10px 0 0 10px;width: 600px">
		<h3>Python Flask, AJAX, MySQL - username availability check</h3>

		<form id="signupform" style="padding: 10px;">
			<fieldset>
				<legend>Check username</legend>
				<div>
					<label>Username</label><br/>
					<input type="text" name="username" id="username" autocomplete="off"/>
					<div id="msg"></div>
				</div>
			</fieldset>
		</form>
	</div>

	<!-- below jquery code triggered on onblur event and checks the username availability in the database -->
	<script type="text/javascript">
		$(document).ready(function() {
			$("#username").on('input', function(e) {
				$('#msg').hide();

				if ($('#username').val() == null || $('#username').val() == "") {
					$('#msg').show();
					$("#msg").html("Username is required field.").css("color", "red");
				} else {
					$.ajax({
						type: "POST",
						url: "http://localhost:5000/user_check",
						data: $('#signupform').serialize(),
						dataType: "html",
						cache: false,
						success: function(msg) {
							$('#msg').show();
							$("#msg").html(msg);
						},
						error: function(jqXHR, textStatus, errorThrown) {
							$('#msg').show();
							$("#msg").html(textStatus + " " + errorThrown);
						}
					});
				}
			});
		});
	</script>
</body>
</html>
Testing the Username Availability Application
Now navigate to the project’s root directory and execute the command python main.py as shown in the below image, your server will start on default port 5000.
If you want to change the port then you can change the line app.run() to app.run(port=50001), where 5001 is the new port.
Hit the URL http://localhost:5000 to open the home page and you will see below output on the page:
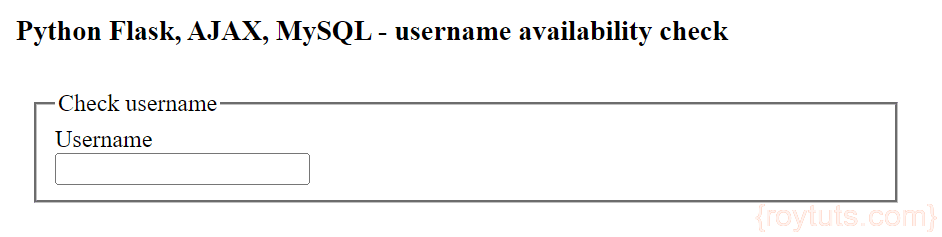
Now you can input and check whether username is available or not. You will see the instance result while you type a letter or on key up.
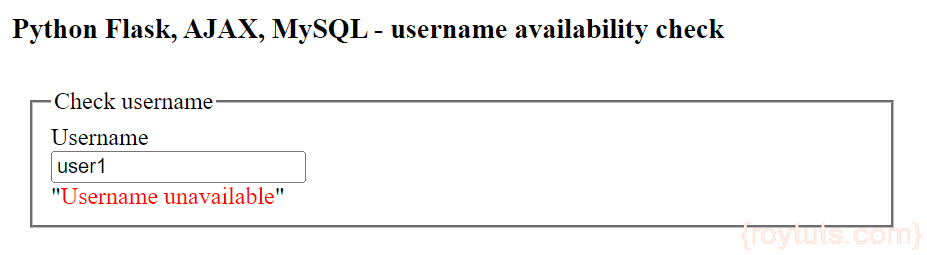
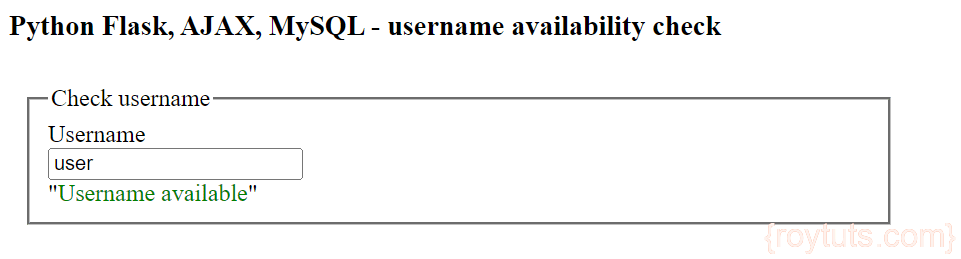
The message you see when a username is available:
The message you see when a username is not available: