Introduction
In this example, I will show you how to build a custom validation (validator) for User model object. This validator is custom implementation of Validator interface.
Spring MVC supports validation by means of a validator object that implements the Validator interface. I will write the below validator code in this example to check if the required form fields are filled.
Let’s consider the following validator class:
@Component
public class UserValidator implements Validator {
	@Override
	public boolean supports(Class<?> claszz) {
		return User.class.isAssignableFrom(claszz);
	}
	@Override
	public void validate(Object target, Errors errors) {
		ValidationUtils.rejectIfEmptyOrWhitespace(errors, "name", "error.name");
		ValidationUtils.rejectIfEmptyOrWhitespace(errors, "email", "error.email");
		ValidationUtils.rejectIfEmptyOrWhitespace(errors, "address", "error.address");
	}
}
In this validator, utility methods such as rejectIfEmptyOrWhitespace() and rejectIfEmpty() in the ValidationUtils class are used to validate the required form fields. If any of these form fields is empty, these methods will create a field error and bind it to the field. The second argument of these methods is the property name of the User object, while the third is the error code which is defined in the messages.properties file.
Many times validation errors are not specific to fields. For example name should be greater than three characters long in length. In this case, you can use the reject() method to create an object error to be bound to the User object, not to a field.
Prerequisites
Java 8+, Maven 3.8.5, Spring Boot 2.7.0
Project Setup
I am creating a maven based project here. The following pom.xml file can be used for the project:
<?xml version="1.0" encoding="UTF-8"?>

<project xmlns="http://maven.apache.org/POM/4.0.0" xmlns:xsi="http://www.w3.org/2001/XMLSchema-instance" xsi:schemaLocation="http://maven.apache.org/POM/4.0.0 http://maven.apache.org/xsd/maven-4.0.0.xsd">
	<modelVersion>4.0.0</modelVersion>

	<groupId>com.roytuts</groupId>
	<artifactId>spring-mvc-custom-validator</artifactId>
	<version>0.0.1-SNAPSHOT</version>

	<properties>
		<project.build.sourceEncoding>UTF-8</project.build.sourceEncoding>
		<maven.compiler.source>11</maven.compiler.source>
		<maven.compiler.target>11</maven.compiler.target>
	</properties>

	<parent>
		<groupId>org.springframework.boot</groupId>
		<artifactId>spring-boot-starter-parent</artifactId>
		<version>2.7.0</version>
	</parent>

	<dependencies>
		<dependency>
			<groupId>org.springframework.boot</groupId>
			<artifactId>spring-boot-starter-web</artifactId>
		</dependency>

		<dependency>
			<groupId>org.apache.tomcat.embed</groupId>
			<artifactId>tomcat-embed-jasper</artifactId>
		</dependency>

		<dependency>
			<groupId>javax.servlet</groupId>
			<artifactId>jstl</artifactId>
		</dependency>
	</dependencies>

	<build>
		<plugins>
			<plugin>
				<groupId>org.springframework.boot</groupId>
				<artifactId>spring-boot-maven-plugin</artifactId>
			</plugin>
		</plugins>
	</build>
</project>
Locale based Message
Let’s create a messages.properties file under src/main/resources folder to pick the error messages corresponding to a particular key. The default locale for this example for messages is English.
error.name=Name is required
error.email=Email is required
error.address=Address is required
Application Config
The application.properties file is kept under class path directory src/main/resources with the following configuration for resolving views.
#view resolver
spring.mvc.view.prefix=/pages/
spring.mvc.view.suffix=.jsp
Model Class
This is the model class which is bound to an HTML form fields.
package com.roytuts.springmvc.custom.validator.model;

public class User {

	private String name;
	private String email;
	private String address;

	//getters and setters

}
Validator
The following validator class validates the input requests from the clients or users when form is submitted.
package com.roytuts.springmvc.custom.validator;

import org.springframework.stereotype.Component;
import org.springframework.validation.Errors;
import org.springframework.validation.ValidationUtils;
import org.springframework.validation.Validator;

import com.roytuts.springmvc.custom.validator.model.User;

@Component
public class UserValidator implements Validator {

	@Override
	public boolean supports(Class<?> claszz) {
		return User.class.isAssignableFrom(claszz);
	}

	@Override
	public void validate(Object target, Errors errors) {
		ValidationUtils.rejectIfEmptyOrWhitespace(errors, "name", "error.name");
		ValidationUtils.rejectIfEmptyOrWhitespace(errors, "email", "error.email");
		ValidationUtils.rejectIfEmptyOrWhitespace(errors, "address", "error.address");
	}

}
Controller Class
A controller class is used to redirect to an appropriate view file in Spring Web MVC application. This Spring controller class will handle user request and response.
package com.roytuts.springmvc.custom.validator.controller;

import org.springframework.beans.factory.annotation.Autowired;
import org.springframework.stereotype.Controller;
import org.springframework.ui.Model;
import org.springframework.validation.BindingResult;
import org.springframework.web.bind.annotation.GetMapping;
import org.springframework.web.bind.annotation.ModelAttribute;
import org.springframework.web.bind.annotation.PostMapping;
import org.springframework.web.bind.annotation.RequestMapping;

import com.roytuts.springmvc.custom.validator.UserValidator;
import com.roytuts.springmvc.custom.validator.model.User;

@Controller
@RequestMapping("/register")
public class UserController {

	@Autowired
	private UserValidator userValidator;

	@GetMapping
	public String setupUserForm(Model model) {
		User user = new User();

		model.addAttribute("userForm", user);

		return "add";
	}

	@PostMapping
	public String submitUserForm(@ModelAttribute("userForm") User user, BindingResult result, Model model) {
		userValidator.validate(user, result);

		if (result.hasErrors()) {
			return "add";
		}

		// save the object user to some persistent storage
		// return to the success page
		model.addAttribute("success", "User successfully saved");

		return "success";
	}

}
View Files
Create below add.jsp page and put it under src/main/webapp/pages directory. In the below jsp page I have used Spring framework’s tag library for using in the form. Also notice <form:errors path="*" cssClass="error"/> is used for showing all errors in the same place in a form instead of individual errors. Though I have actually specified individual error to be shown to the end users.
<%@ page language="java" contentType="text/html; charset=ISO-8859-1"
pageEncoding="ISO-8859-1"%>
<%@ taglib prefix="form" uri="http://www.springframework.org/tags/form"%>
<html>
<title>Spring MVC Validator Example</title>
<head>
<style>
.error {
color: #ff0000;
font-weight: bold;
}
</style>
</head>
<body>
<h2>Spring MVC Validator Example</h2>
<div> </div>
<form:form action="register" method="post" modelAttribute="userForm">
<!--<form:errors path="*" cssClass="error" />
<div> </div>-->
Name: <form:input path="name" /><form:errors path="name" cssClass="error" />
<br />
<br /> Email: <form:input path="email" /><form:errors path="email" cssClass="error" />
<br />
<br /> Address:<form:textarea path="address" rows="5" cols="30" /><form:errors path="address" cssClass="error" />
<br />
<input value="Add User" type="submit" />
</form:form>
</body>
</html>I have used modelAttribute="userForm" in the form tag to bind the model name in the controller class. If it does not work with lower version of spring framework then you can use commandName="userForm".
If commandName does not work then you will get the following error during application runtime:
o.s.web.servlet.tags.form.InputTag       : Neither BindingResult nor plain target object for bean name 'command' available as request attribute

java.lang.IllegalStateException: Neither BindingResult nor plain target object for bean name 'command' available as request attribute
	at org.springframework.web.servlet.support.BindStatus.<init>(BindStatus.java:153)
To resolve the above error you need to use modelAttribute in the form tag.
Create below success.jsp page and put it under src/main/webapp/pages directory. This success page will be displayed once all errors are taken care for the input fields.
<%@ page language="java" contentType="text/html; charset=ISO-8859-1"
	pageEncoding="ISO-8859-1"%>
<html>
<title>Spring MVC Validator Example</title>
<body>
	<h2>Spring MVC Validator Example</h2>
	<p>${success}</p>
</body>
</html>
Spring Boot Main Class
The spring boot application requires a main method with @SpringBootApplication annotation to run the application in the default embedded Tomcat server.
package com.roytuts.springmvc.custom.validator;

import org.springframework.boot.SpringApplication;
import org.springframework.boot.autoconfigure.SpringBootApplication;

@SpringBootApplication
public class App {

	public static void main(String[] args) {
		SpringApplication.run(App.class, args);
	}

}
Testing Custom Validator in Spring Web MVC App
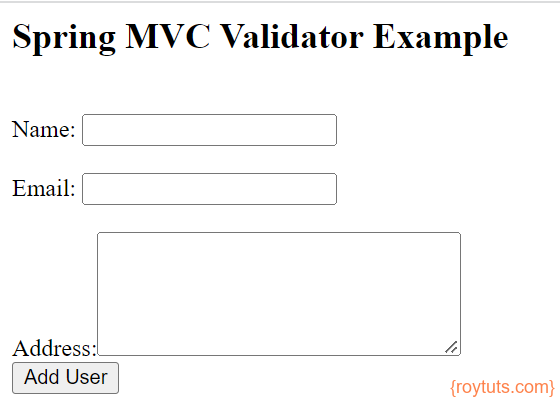
Once your application gets deployed in the embedded Tomcat server by executing the main class, you can hit the URL http://localhost:8080/register to get the home page which looks similar to the below image:
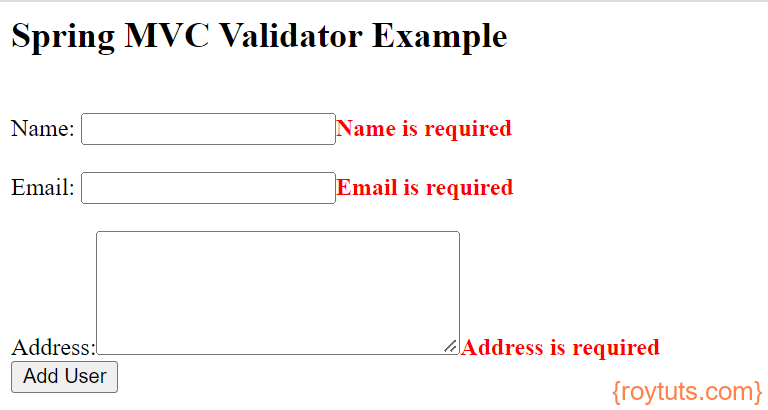
When you try to submit the form without entering the required fields’ values:
Once you enter the required values in input fields:
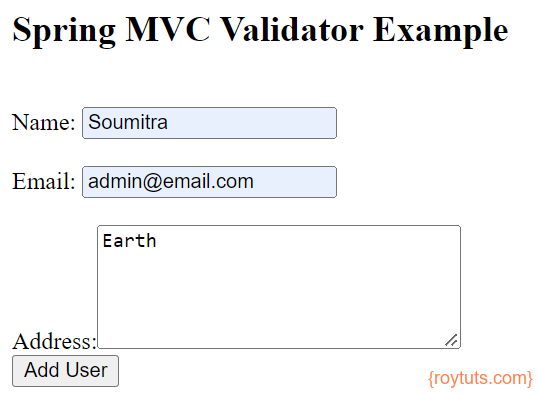
And submit the form. You see the successful message.
