Introduction
Here I will show you an example on creating and building jobs in Jenkins. We know that Jenkins is a build tool that helps us to automate building, releasing and deploying of the application to appropriate environment. But before we start building application, we need to create a job for that application. Then only we will be able to run build repeatedly as and when required by just clicking on the job name.
Here are few other tutorials and one of them you have to go through before you read this tutorial:
- Jenkins setup in Windows
- Manage Jenkins – Configuring JDK, GIT and Maven
- Jenkins: Detecting the current branch failed: ref HEAD is not a symbolic ref
- Deploy both war and jar files into Nexus using maven in Jenkins
Prerequisites
Already have Jenkins setup in Windows
Already have Jenkins configured with JDK, GIT and Maven
Already have sample java project in your Git repository (either in local or remote repository)
Creating and Building Jobs in Jenkins
Go through the following steps to understand how to create and build a job in Jenkins.
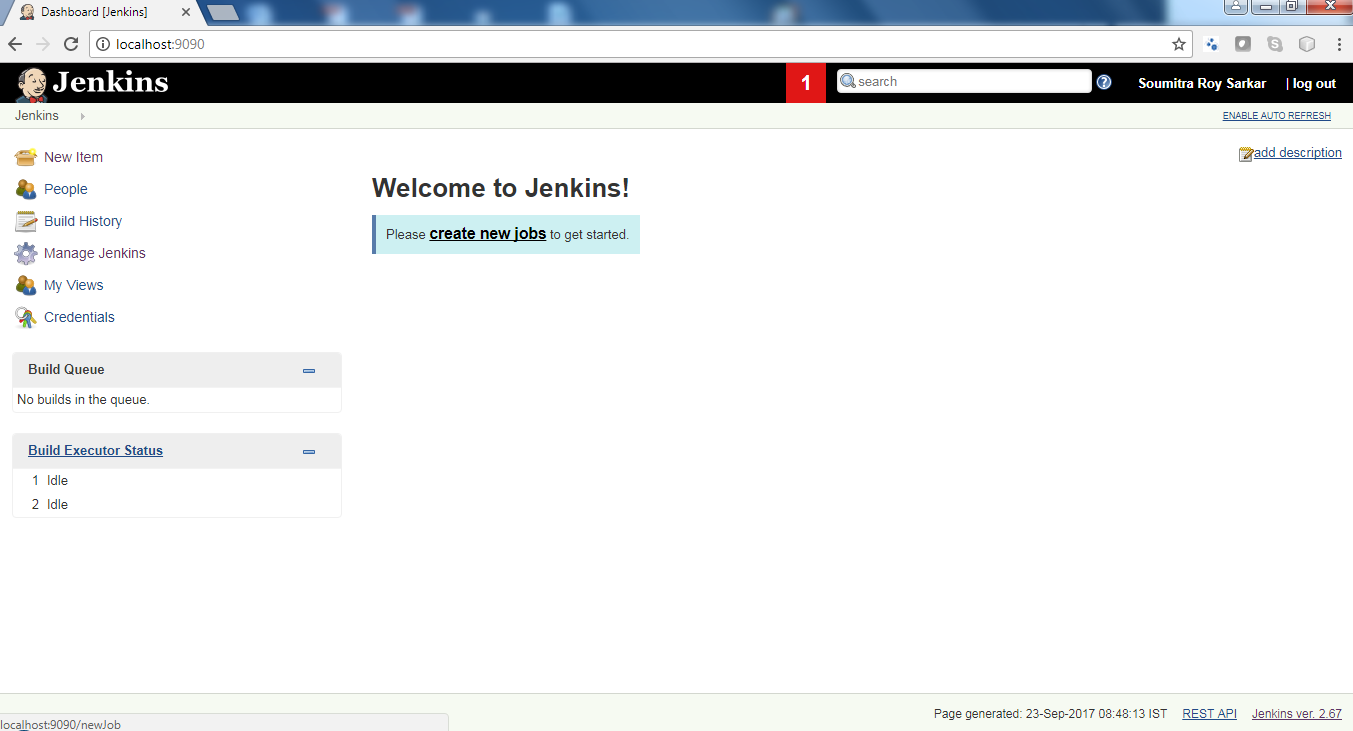
Step 1. Login to your Jenkins using credentials
Step 2. Either create a new job by clicking on “create new jobs” link on the home page or “New Item” on the left-hand side at the very begining
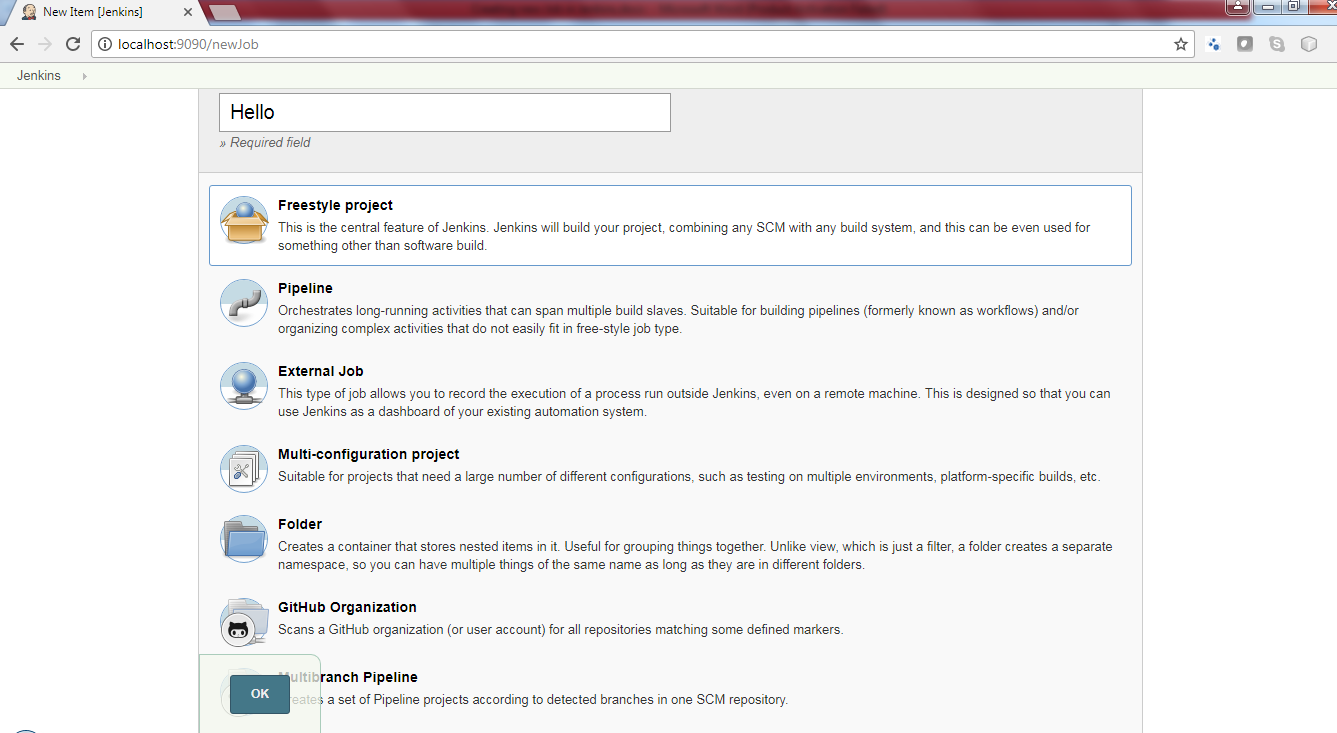
Step 3. Enter the name of the job and select an option from the list below. Here I have selected the Freestyle.
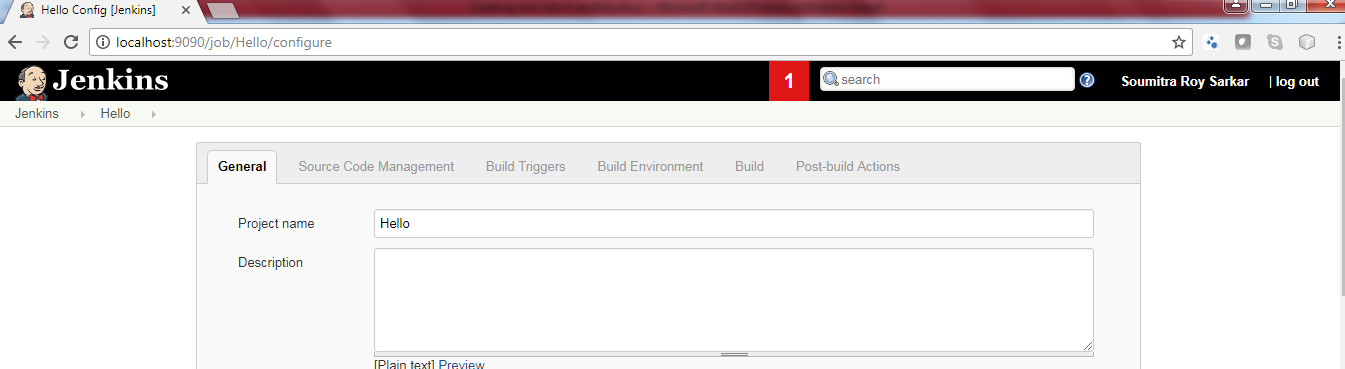
Step 4. Now you will see few tabs appear as shown below:
Step 5. Now for source code management you can choose None, Git or Subversion. I have selected here Git. Put the repository location where your source code is available. Here I have the Git project folder hello that contains only one java file called HelloWorld.java with below content:
public class HelloWorld {
    public static void main(String[] args) {
        System.out.println("Hello, World");
    }
}
In this you need to configure Git repository locally if you want to use java application from local Git repository.
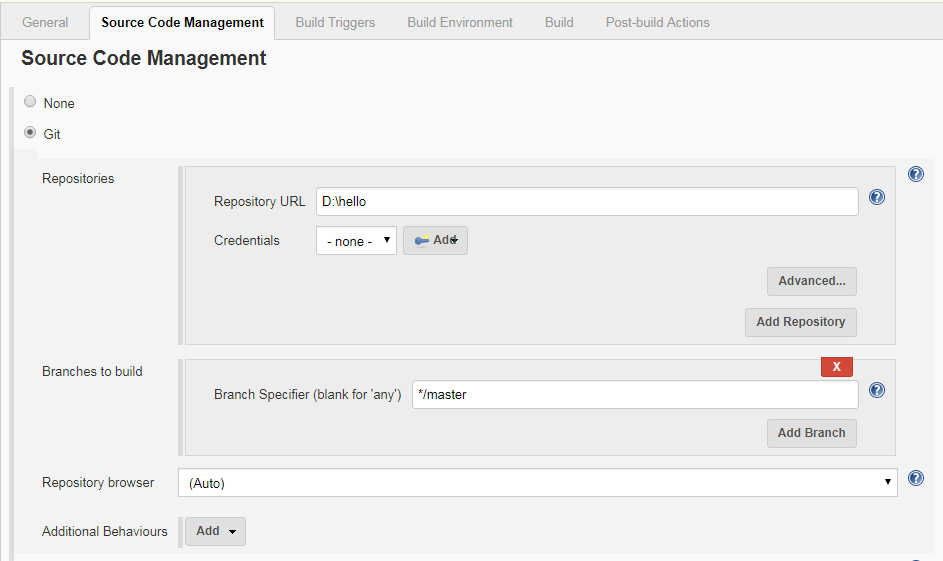
You can also configure for other options as per your requirements such as Build Triggers, Build Environment, Build and Post-build Actions.
Now click on Save.
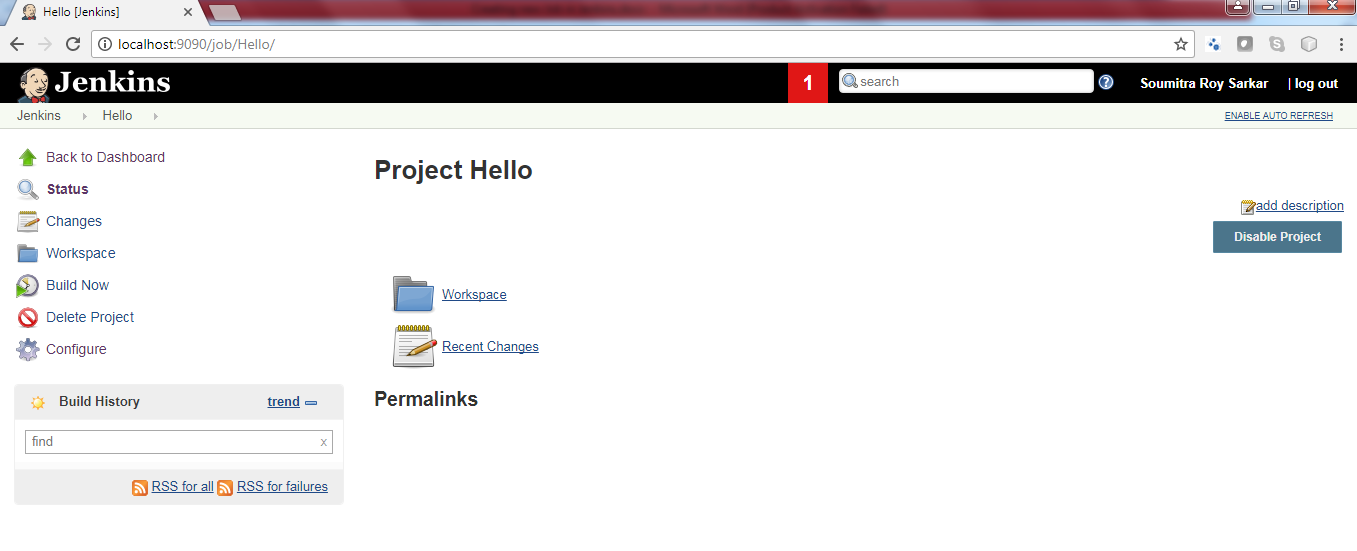
Step 6. Now you would see similar to below screen:
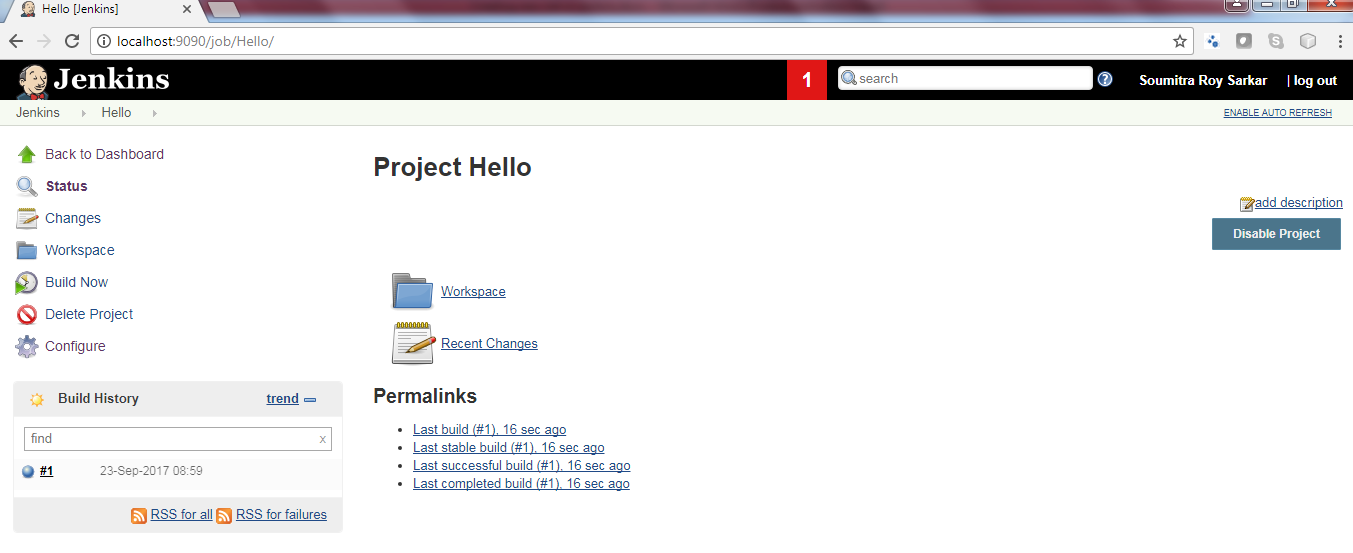
Step 7. Now click on Build Now. You will see on left-hand side under Build History there is one build has happened as shown below
Step 9. Now if you click on #1. Next if you click on Console Output, then you will find below build success message “Finished: SUCCESS”.

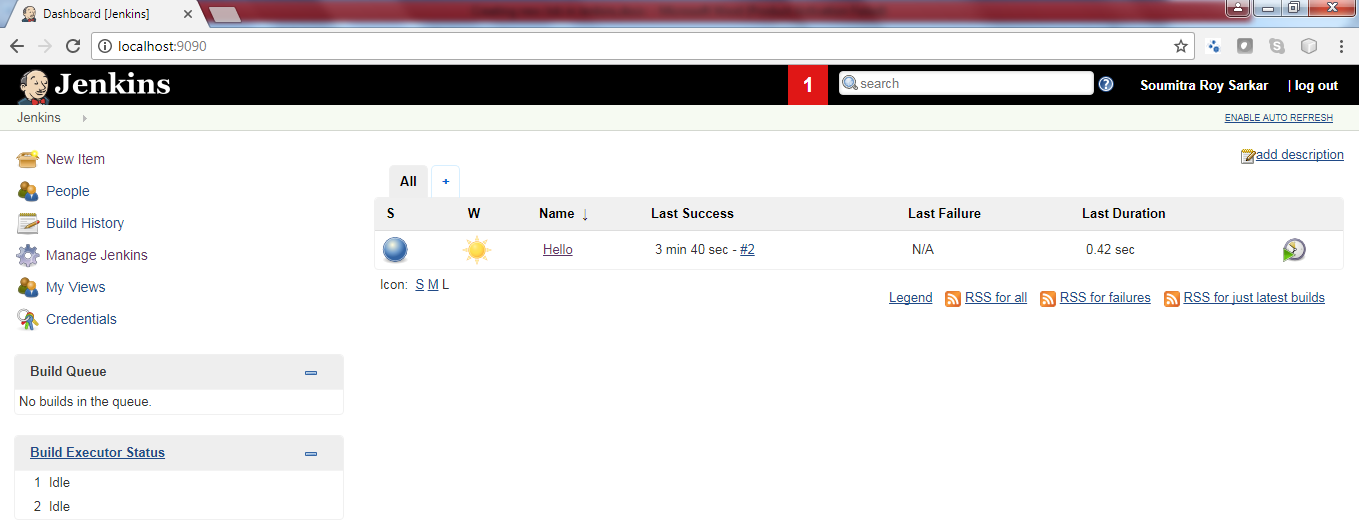
Step 10. When you go to home page of Jenkins then you will see the below screen with all jobs details
That’s all. You have successfully done with creating and building jobs in Jenkins.
Related Posts:
- Jenkins setup in Windows
- Manage Jenkins – Configuring JDK, GIT and Maven
- Jenkins: Detecting the current branch failed: ref HEAD is not a symbolic ref
- Deploy both war and jar files into Nexus using maven in Jenkins
Thanks for reading.