Table of Contents
Introduction
Here I am going to show you how to create a new Gradle in CLI (command line interface). Command line interface is basically a command prompt in Windows system and Shell terminal in Unix based systems.
Like Maven, you can easily create a Gradle based Java application in any Java based IDE or tool, but here I am going to show you an alternate way of creating Java project using Gradle build tool in CLI.

Why do you need to create Gradle project in CLI?
Out of curiosity, you may want to know how to create Gradle project in CLI. Your IDE (Eclipse, STS, etc.) may not respond within a certain time (or results Not Responding) while you are trying to create a Gradle project and you loose your patience. Your IDE may not respond at all while you are trying to create a Gradle project and you need to kill the process or task. But your existing Gradle projects work fine while you import them into the IDE.
Prerequisites
Java 1.8+, Gradle 5.6.1+
Create Gradle Project in CLI
While you are creating a Gradle based project, either you can choose a project name when you are asked to provide in the option or you can choose a pre-defined project directory and you can leave blank in the option.
I am going to execute init task to create a new Gradle project in CLI. The following types are supported for the init task:
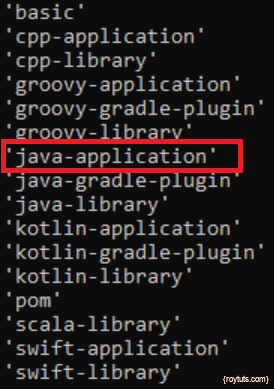
From the above types, I am going to use java-application in the init task to create a Java project.
Now open a command prompt and navigate to the directory which you want to make a project directory. For example, in the below screenshot I have created project directory java-test and this will be my project name.

In the above screenshot, I have used command gradle init--type java-application to create a Java project and java-test will be my project name.
Once you hit Enter key, you will be asked to choose which type of build script you want to create. I have chosen Groovy.
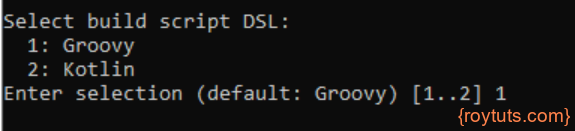
If you do not enter any option (1 or 2), then also default type Groovy will be selected for your build.gradle script.
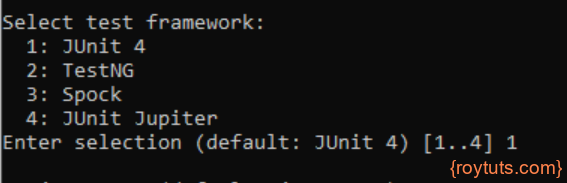
Next you need to choose which test framework you want to use:
Next you will be asked to input project name and source package. I have kept blank to choose java-test as the project name and default source package.

Finally your project will be created upon hitting Enter key and build will show successful.

Your new Gradle project will have standard folder structures with all the required files.
Now you can import the project in your favourite IDE (Eclipse, STS, etc.). After importing the project into an IDE you can run the project. By default the project creates a class with main method that can print Hello World in the standard console.