Django
In this example I am going to show you how to configure Python based Django in Windows Operating System. The current version of Django, at the time of writing, I am using here is 3.0.8 and later updated to version 4.2.5.
Here I am going to show you how to install latest version of Django in Windows 64 bit Operating System. I am also going to create a sample project to test the configuration whether it works successfully or not.
The development server comes as a built-in server with Django framework and it should not be used in production environment.
Prerequisites
Python 3.8.5/3.11.5, Django 3.0.8/4.2.5, Windows 32/64 bit
Setup Django
Now we will see step by step how to setup Django framework in Windows environment.
The first thing is to make sure that you have the Python installed in your system and Python is configured on your system’s environment variable’s path.
Next is to open the cmd (command line tool) and run the following command to install Django.
The following command does not install the latest or new Django if your system has the installation of Django framework. In this case the later command will help you to get the latest version of Django.
pip install DjangoIf you already have installed your Django framework on your system in past and you want to upgrade your Django version then you can execute the following command:
pip install -U DjangoThe above command will uninstall the older version of Django from your system and install the latest version.
Once your Django framework is successfully installed, the next step is to create a sample project using Django to test whether installation was successful or not.
Execute the below command to create a Django project. django-admin startproject is the command to create a new project followed by the project name (djangomysql).
django-admin startproject djangodemoTo run the project or application you can execute the following command on project’s root directory:
manage.py runserverOnce your development server starts successfully, you will see the following console:
By default development server starts on port 8000; if you want to change port then you can do so by passing port as a command line argument. For example, if you want to start server on port 8080 then you can run server using command manage.py runserver 8080.
You can also change server’s IP address (by default it runs on localhost or 127.0.0.1), for example, manage.py runserver 0:8080, where 0 means 0.0.0.0 or specify the full IP address.
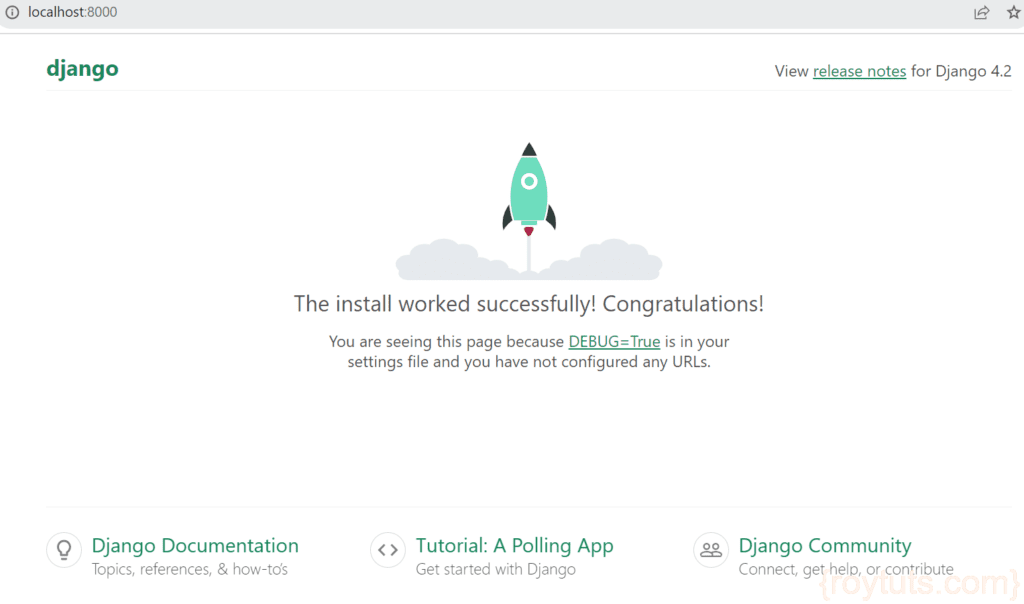
To test the application you can hit the URL http://localhost:8000/ on the browser and you will see the following screen as shown in below image:
To quit server just press Ctrl + Break (Ctrl + c) from keyboard.
That’s all about how to setup Django in Windows environment.

