Introduction
This tutorial will show you how to upload and play video using Codeigniter. The uploaded video may or may not start playing automatically. CodeIgniter’s File Uploading Class permits files to be uploaded. You can set various preferences, restricting the type and size of the files.
Uploading a file involves the following general process:
- An upload form is displayed, allowing a user to select a file and upload it.
- When the form is submitted, the file is uploaded to the destination you specify.
- Along the way, the file is validated to make sure it is allowed to be uploaded based on the preferences you set.
- Once uploaded successfully, the video will be played automatically and the user will be shown a success message.
Prerequisites
Codeigniter 3.1.10 – 3.1.11, PHP 7.0.15 – 7.4.3, Apache HTTP Server 2.4
Project Directory
Create a project root directory called codeIgniter-upload-and-play-video. You need to create another directory under the project root directory, called upload that will contain the uploaded video file. I may not mention the project root directory but the file or folder whatever I create I will assume that I am creating with respect to the project root directory.
Configuring Auto-load
Now modify application/config/autoload.php file for auto-loading html, url, file and form. I want to auto load such things to avoid loading every time I want to use frequently.
$autoload['helper'] = array('html', 'url', 'file', 'form');View File
Create a view file video_upload.php under application/views folder, which will be used for uploading video file. This view file is responsible to upload and play video using Codeigniter.
Here in the below view file I have used traditional way to play the video as well as using html5. If your browser does not support html5 then you can use traditional way to play the video.
<!DOCTYPE html>
<html>
    <head>
        <meta charset="UTF-8">
        <title>Codeigniter Video Upload</title>
        <style type="text/css">

            ::selection { background-color: #E13300; color: white; }
            ::-moz-selection { background-color: #E13300; color: white; }

            body {
                background-color: #fff;
                margin: 40px;
                font: 13px/20px normal Helvetica, Arial, sans-serif;
                color: #4F5155;
            }

            #body {
                margin: 0 15px 0 15px;
            }

            #container {
                margin: 10px;
                border: 1px solid #D0D0D0;
                box-shadow: 0 0 8px #D0D0D0;
            }

            .error {
                color: #E13300;
            }

            .success {
                color: darkgreen;
            }
        </style>
    </head>
    <body>
        <div id="container">
            <h1>CodeIgniter Video Upload</h1>

            <div id="body">
                <p>Select a video file to upload</p>
                <?php
					if (isset($success) && strlen($success)) {
						echo '<div class="success">';
						echo '<p>' . $success . '</p>';
						echo '</div>';

						//traditional video play - less than HTML5
						echo '<object width="338" height="300">
						  <param name="src" value="' . $video_path . '/' . $video_name . '">
						  <param name="autoplay" value="false">
						  <param name="controller" value="true">
						  <param name="bgcolor" value="#333333">
						  <embed type="' . $video_type . '" src="' . $video_path . '/' . $video_name . '" autostart="false" loop="false" width="338" height="300" controller="true" bgcolor="#333333"></embed>
						  </object>';

						//HTML5 video play
						/*echo '<video width="320" height="240" controls>
						  <source src="' . $video_path . '/' . $video_name . '" type="' . $video_type . '">
						  Your browser does not support the video tag.
						  </video>';*/
					}
					if (isset($errors) && strlen($errors)) {
						echo '<div class="error">';
						echo '<p>' . $errors . '</p>';
						echo '</div>';
					}
					if (validation_errors()) {
						echo validation_errors('<div class="error">', '</div>');
					}
                ?>
                <?php
					$attributes = array('name' => 'video_upload', 'id' => 'video_upload');
					echo form_open_multipart($this->uri->uri_string(), $attributes);
                ?>
                <p><input name="video_name" id="video_name" readonly="readonly" type="file" /></p>
                <p><input name="video_upload" value="Upload Video" type="submit" /></p>
                <?php
					echo form_close();
                ?>
            </div>

        </div>
    </body>
</html>
Controller Class
Create a Controller class in a file called VideoUpload.php under application/controllers folder for handling client’s request and response.
I am also validating and restricting few things while uploading video file. I allow only video file to be uploaded. I set the destination where file has to be uploaded etc.
<?php

defined('BASEPATH') OR exit('No direct script access allowed');

/**
 * Description of VideoUpload
 *
 * @author https://roytuts.com
 */
class VideoUpload extends CI_Controller {

    //variable for storing error message
    private $error;
    //variable for storing success message
    private $success;

    function __construct() {
        parent::__construct();
        //load this to validate the inputs in upload form
        $this->load->library('form_validation');
    }

    //appends all error messages
    private function handle_error($err) {
        $this->error .= $err . "\r\n";
    }

    //appends all success messages
    private function handle_success($succ) {
        $this->success .= $succ . "\r\n";
    }

    public function index() {
        if ($this->input->post('video_upload')) {
            //set preferences
            //file upload destination
            $upload_path = './upload/';
            $config['upload_path'] = $upload_path;
            //allowed file types. * means all types
            $config['allowed_types'] = 'wmv|mp4|avi|mov';
            //allowed max file size. 0 means unlimited file size
            $config['max_size'] = '0';
            //max file name size
            $config['max_filename'] = '255';
            //whether file name should be encrypted or not
            $config['encrypt_name'] = FALSE;
            //store video info once uploaded
            $video_data = array();
            //check for errors
            $is_file_error = FALSE;
            //check if file was selected for upload
            if (!$_FILES) {
                $is_file_error = TRUE;
                $this->handle_error('Select a video file.');
            }
            //if file was selected then proceed to upload
            if (!$is_file_error) {
                //load the preferences
                $this->load->library('upload', $config);
                //check file successfully uploaded. 'video_name' is the name of the input
                if (!$this->upload->do_upload('video_name')) {
                    //if file upload failed then catch the errors
                    $this->handle_error($this->upload->display_errors());
                    $is_file_error = TRUE;
                } else {
                    //store the video file info
                    $video_data = $this->upload->data();
                }
            }
            // There were errors, you have to delete the uploaded video
            if ($is_file_error) {
                if ($video_data) {
                    $file = $upload_path . $video_data['file_name'];
                    if (file_exists($file)) {
                        unlink($file);
                    }
                }
            } else {
                $data['video_name'] = $video_data['file_name'];
                $data['video_path'] = $upload_path;
                $data['video_type'] = $video_data['file_type'];
                $this->handle_success('Video was successfully uploaded to direcoty <strong>' . $upload_path . '</strong>.');
            }
        }
        //load the error and success messages
        $data['errors'] = $this->error;
        $data['success'] = $this->success;
        //load the view along with data
        $this->load->view('video_upload', $data);
    }

}
Configuring Route
Now modify application/config/routes.php file for pointing the default controller class.
$route['default_controller'] = 'videoupload';Testing the Application
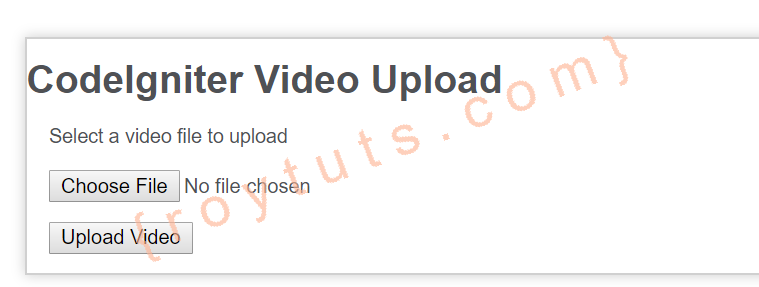
Now if everything is fine run the application by hitting the URL http://localhost/codeIgniter-upload-and-play-video/, you will see below output in the browser:
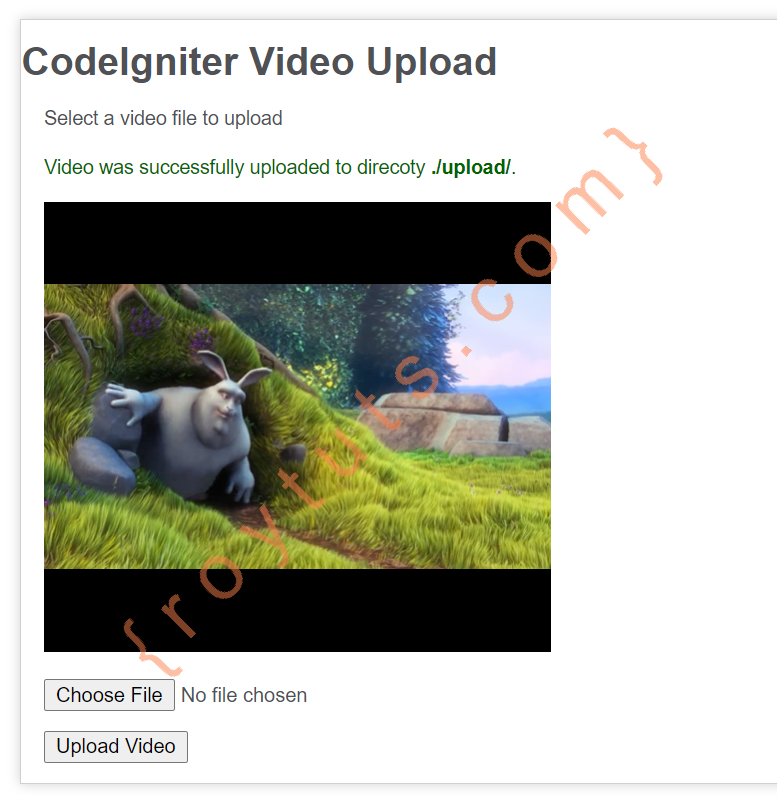
Now browse and select a video file, the file will be uploaded to upload directory and the uploaded video will be displayed or played on the browser.
Hope you got idea how to upload and play video using codeigniter.
Sample videos can be found at http://www.sample-videos.com/
awsome it’s working successfully.
I can’t upload video which have morthan time 5 second
How to set the uploading video time
I want uplod video with time 10 minutes
Pls replay to mail