Problem
Let’s say you are starting your Spring Boot application and your (Spring Boot) application is trying to connect to vhost (virtual host) ‘xyz’ that does not exist in RabbitMQ server. So, you are getting error – access to vhost ‘xyz’ refused for use ‘guest’. By default, the user which is used to connect to RabbitMQ is ‘guest’. Here the vhost ‘xyz’ is not the actual name and you will find actual name in the error log of your application or in the RabbitMQ log.
Solution
To fix the issue you need to create the vhost with the same name which you found in the error log. To create a vhost (virtual host) and assign the user ‘guest’, please follow the steps as given below:
Step 1. Open RabbitMQ management console by hitting the URL http://localhost:15672
Step 2. Click on the Admin tab, then click on Virtual Hosts and you will find an input box to create a vhost. At this moment you won’t find any existing vhost or virtual host.
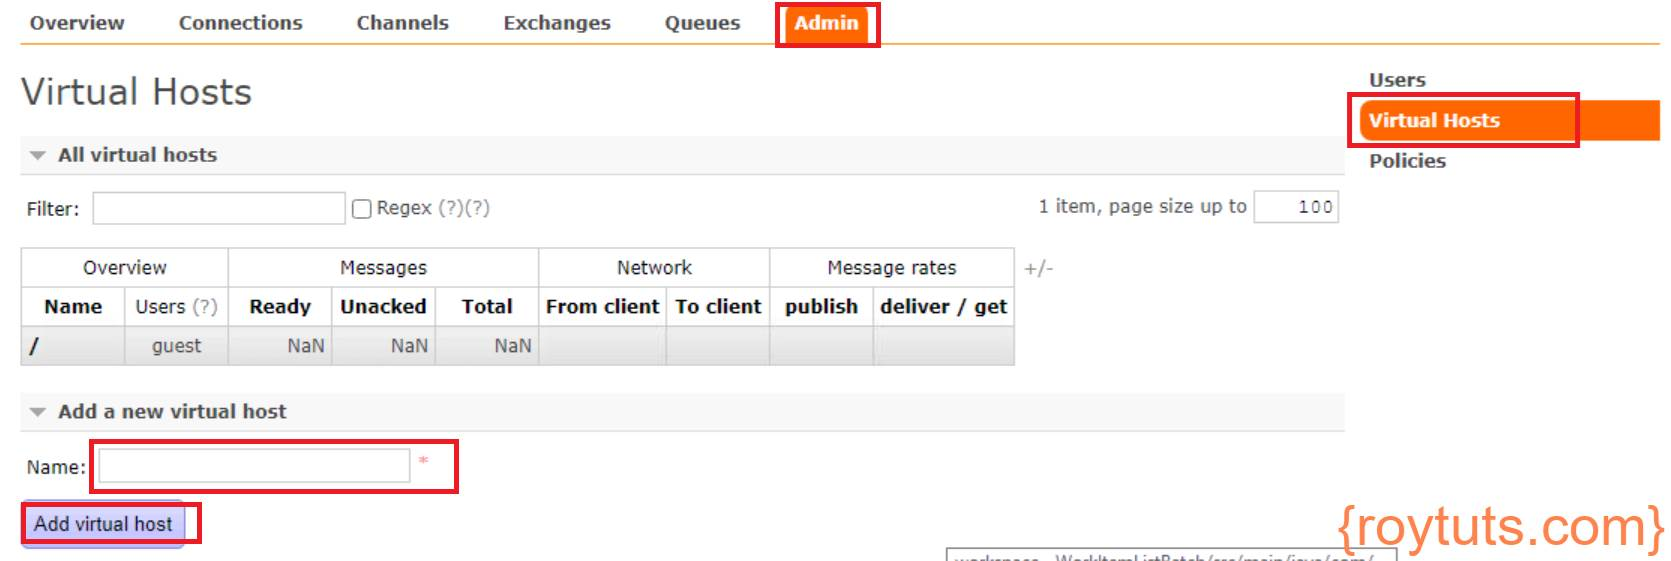
Step 3. Now I will create a vhost. Input vhost name, for example, roy.reporting in the input box of Name: field. Click on Add virtual host button. Virtual host will be created as shown below:

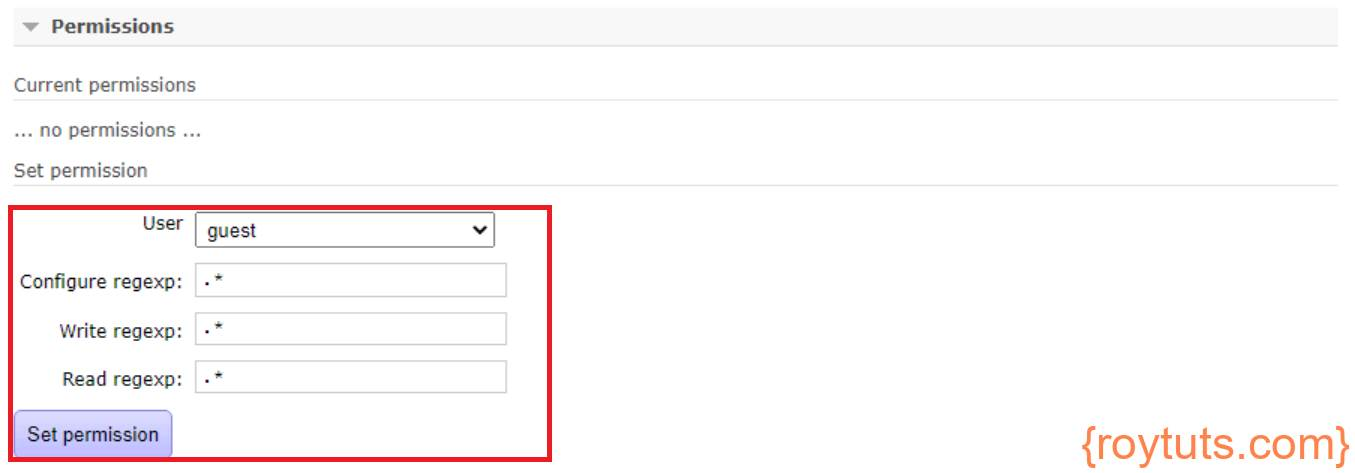
Step 4. As you see there is no user assigned to the virtual host, so I will assign user ‘guest’ to it so that this user can perform operations. Click on the vhost name roy.reporting and a page will open with Overview and Permissions sections. Now accept the default values and click on the Set permission button.
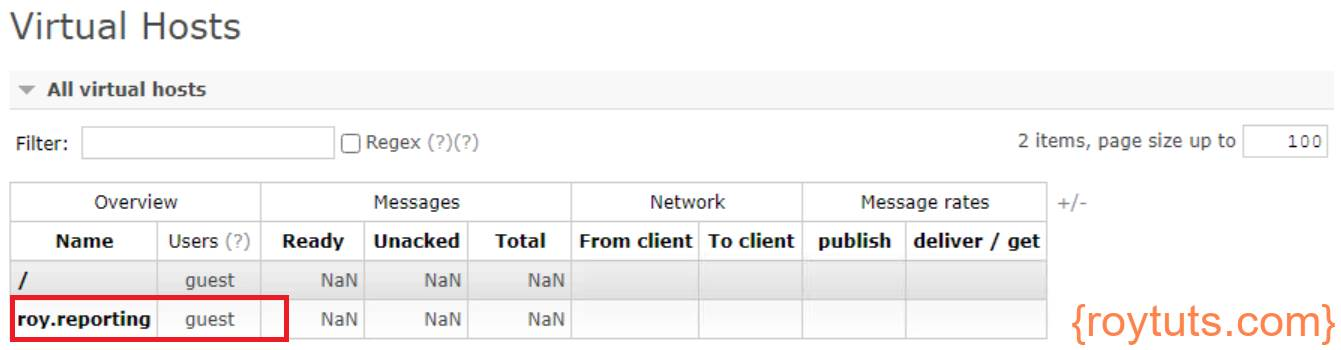
Step 5. Now click on the Virtual Hosts option from menu and you will find that the user ‘guest’ has been assigned to the vhost roy.reporting.
That’s all about creating a vhost or virtual host in RabbitMQ from management console.
Now when you start your application again, you should not see the same error access to vhost ‘xyz’ refused for user ‘guest’ in the log.