Secure Actuator HTTP Endpoints
Here you will see example on securing HTTP endpoints in Spring Boot application. Like other sensitive URLs, you should take care to secure HTTP endpoints. If Spring Security is present, endpoints are secured by default using Spring Security’s content-negotiation strategy.
If you wish to configure custom security for HTTP endpoints, for example, only allow users with a certain role to access them, Spring Boot provides some convenient RequestMatcher objects that can be used in combination with Spring Security.
You may also like to read Spring Boot Actuator – Accessing Endpoints via JMX.
Prerequisites
Java 12/19, Spring Boot 2.2.5/3.1.4, Gradle 6.1.1, Maven 3.6.3/3.8.5
First go through the example Spring Boot Actuator – Production Ready Features
Add Spring Security Starter
Add spring security starter dependency to build.gradle script in addition to other dependencies, such as, web and actuator starters, to work with the spring security in Spring Boot application.
implementation("org.springframework.boot:spring-boot-starter-security:${springBootVersion}")For maven based configuration use below dependency in pom.xml file:
<dependency>
	<groupId>org.springframework.boot</groupId>
	<artifactId>spring-boot-starter-security</artifactId>
</dependency>
The pom.xml for spring boot 3.x.x version can be given below:
<?xml version="1.0" encoding="UTF-8"?>

<project xmlns="http://maven.apache.org/POM/4.0.0"
	xmlns:xsi="http://www.w3.org/2001/XMLSchema-instance"
	xsi:schemaLocation="http://maven.apache.org/POM/4.0.0 http://maven.apache.org/xsd/maven-4.0.0.xsd">
	<modelVersion>4.0.0</modelVersion>

	<groupId>com.roytuts</groupId>
	<artifactId>spring-boot-actuator-secure</artifactId>
	<version>0.0.1-SNAPSHOT</version>

	<properties>
		<project.build.sourceEncoding>UTF-8</project.build.sourceEncoding>
		<maven.compiler.source>19</maven.compiler.source>
		<maven.compiler.target>19</maven.compiler.target>
	</properties>

	<parent>
		<groupId>org.springframework.boot</groupId>
		<artifactId>spring-boot-starter-parent</artifactId>
		<version>3.1.4</version>
	</parent>

	<dependencies>
		<dependency>
			<groupId>org.springframework.boot</groupId>
			<artifactId>spring-boot-starter-web</artifactId>
		</dependency>

		<dependency>
			<groupId>org.springframework.boot</groupId>
			<artifactId>spring-boot-starter-actuator</artifactId>
		</dependency>

		<dependency>
			<groupId>org.springframework.boot</groupId>
			<artifactId>spring-boot-starter-security</artifactId>
		</dependency>
	</dependencies>

	<build>
		<plugins>
			<plugin>
				<groupId>org.springframework.boot</groupId>
				<artifactId>spring-boot-maven-plugin</artifactId>
			</plugin>
		</plugins>
	</build>
</project>
Spring Security Configuration
Create below Spring Security configuration class in order to support Spring Security to the Spring Boot application.
For spring boot version 3.1.4 use the following security configuration class:z
@Configuration
public class ActuatorSecurity {


	@Bean
	public SecurityFilterChain securityFilterChain(HttpSecurity http) throws Exception {
		http.securityMatcher(EndpointRequest.toAnyEndpoint());
		http.authorizeHttpRequests((authorize) -> authorize.anyRequest().hasRole("ADMIN"))
				.httpBasic(Customizer.withDefaults());
		return http.build();
	}

	/*@Bean
	public UserDetailsService userDetailsService() {
		UserDetails user = User.builder().username("user").password("{bcrypt}$2a$10$9Xn39aPf4LhDpRGNWvDFqu.T5ZPHbyh8iNQDSb4aNSnLqE2u2efIu")
				.roles("USER").build(); //user
		return new InMemoryUserDetailsManager(user);
	}*/


	@Autowired
	public void registerGlobal(AuthenticationManagerBuilder builder) throws Exception {
		builder.inMemoryAuthentication().passwordEncoder(new BCryptPasswordEncoder()).withUser("roy")
				.password("$2a$10$B18wGZhRjNau6ZBcI/NBQO6EEdJ7GyVvjjWfAK20ODz4B6LmXicRa").roles("ADMIN");
	}

}
The user credentials can be managed with in-memory authentication in two ways: by creating a bean instance of UserDetailsService and by auto-wiring the AuthenticationManagerBuilder.
For spring boot version 2.2.5 use the following security configuration class:
@Configuration
public class ActuatorSecurity extends WebSecurityConfigurerAdapter {
	private static final String PASSWORD_ENCODED = "$2a$10$B18wGZhRjNau6ZBcI/NBQO6EEdJ7GyVvjjWfAK20ODz4B6LmXicRa";// roy

	@Override
	protected void configure(HttpSecurity http) throws Exception {
		http.requestMatcher(EndpointRequest.toAnyEndpoint()).authorizeRequests().anyRequest().hasRole("ADMIN").and()
				.httpBasic();
	}

	@Autowired
	public void configureGlobal(AuthenticationManagerBuilder auth) throws Exception {
		auth.inMemoryAuthentication().passwordEncoder(passwordEncoder()).withUser("roy").password(PASSWORD_ENCODED)
				.roles("ADMIN");
	}

	@Bean
	public PasswordEncoder passwordEncoder() {
		return new BCryptPasswordEncoder();
	}
}
In the above class I am authenticating a user having username “roy” and password “roy” with in-memory authentication mechanism.
I am using BCrypt password encoder here to encode the password.
Spring Boot Main Class
Scan the package for the security configuration class:
@SpringBootApplication(scanBasePackages = "com.roytuts.springboot.actuator")
public class ActuatorApplication {

	public static void main(String[] args) {
		SpringApplication.run(ActuatorApplication.class, args);
	}

}
For spring boot 3.x.x you don’t need to scan the package because the main class is under the parent package:
@SpringBootApplication
public class ActuatorApplication {

	public static void main(String[] args) {
		SpringApplication.run(ActuatorApplication.class, args);
	}

}
Testing the Actuator Security Application
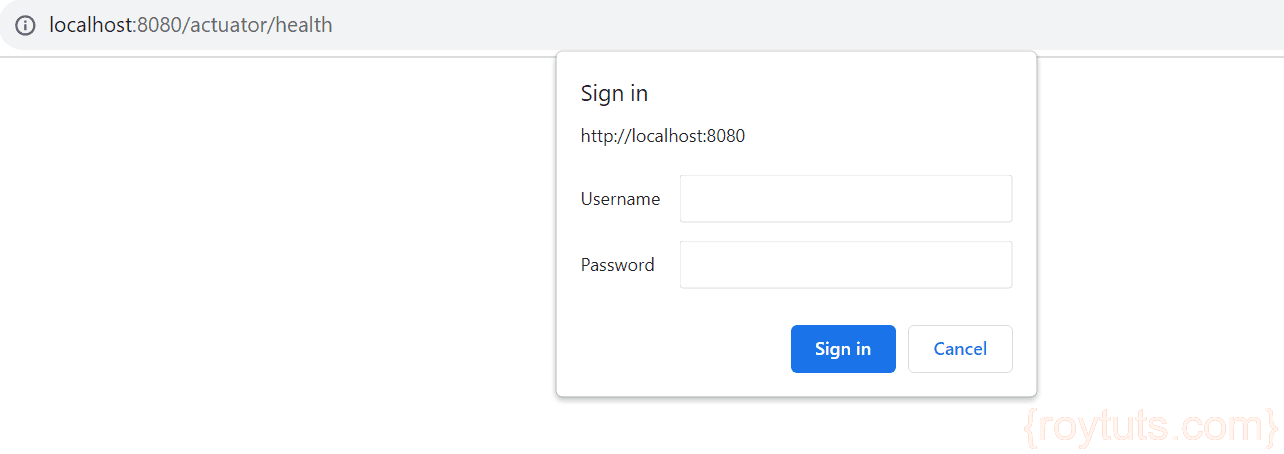
Now when you hit the URL http://localhost:8080/actuator/health then you will be asked to enter username/password to authenticate your credentials. The security form is shown below in the image:
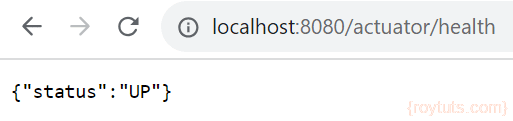
Once you enter “roy/roy” as username and password then you will be able to see the output for /actuator/health on browser.